> ## Documentation Index
> Fetch the complete documentation index at: https://docs.hellotars.com/llms.txt
> Use this file to discover all available pages before exploring further.
# Welcome to your Tars journey
> Discover the Tars platform step by step - from creating your account to exploring the dashboard
**First time here?** Don't worry! This tour is designed for complete
beginners. We'll walk through everything together, step by step.
## Getting started - creating your account
When you visit [https://hellotars.com](https://hellotars.com), you'll see our homepage that introduces you to the world of AI Agents and what they can do for your business.
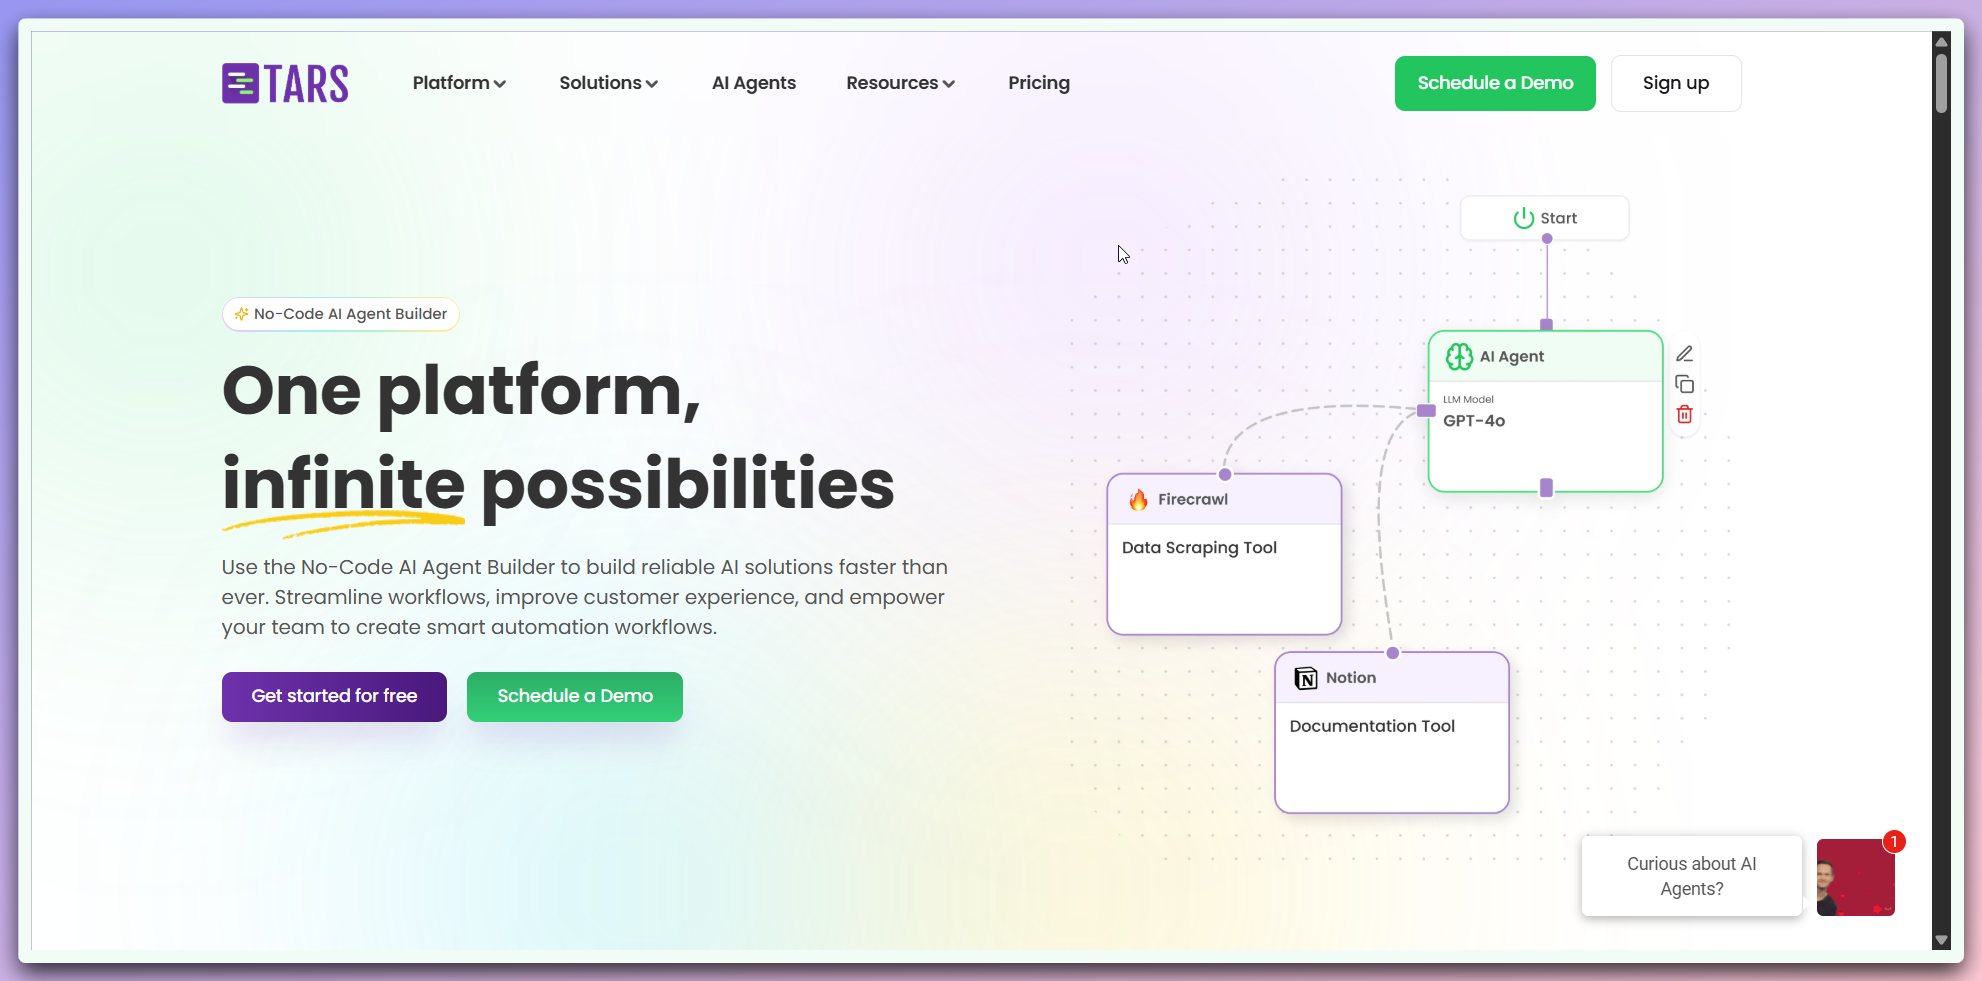 You'll see a **Sign Up** button that will take you to the account creation page. Click it to begin setting up your account and start your journey with Tars.
You'll see a simple form where you can enter your information to create your account.
Choose from multiple sign upmethods that work best for you:
### Quick Social Signup
import SocialSignup from "/snippets/account/social-signup.mdx";
### Manual Email Signup
For users who prefer traditional registration:
* **First Name** and **Last Name**
* **Work Email** address
* **Phone Number** with country code
* Click **"Start my free trial now"**
* Set up your password when prompted
* Sign in with your new credentials
**Don't worry if you're unsure!** We have a detailed guide that will help you create your account step by step.
## Exploring the dashboard
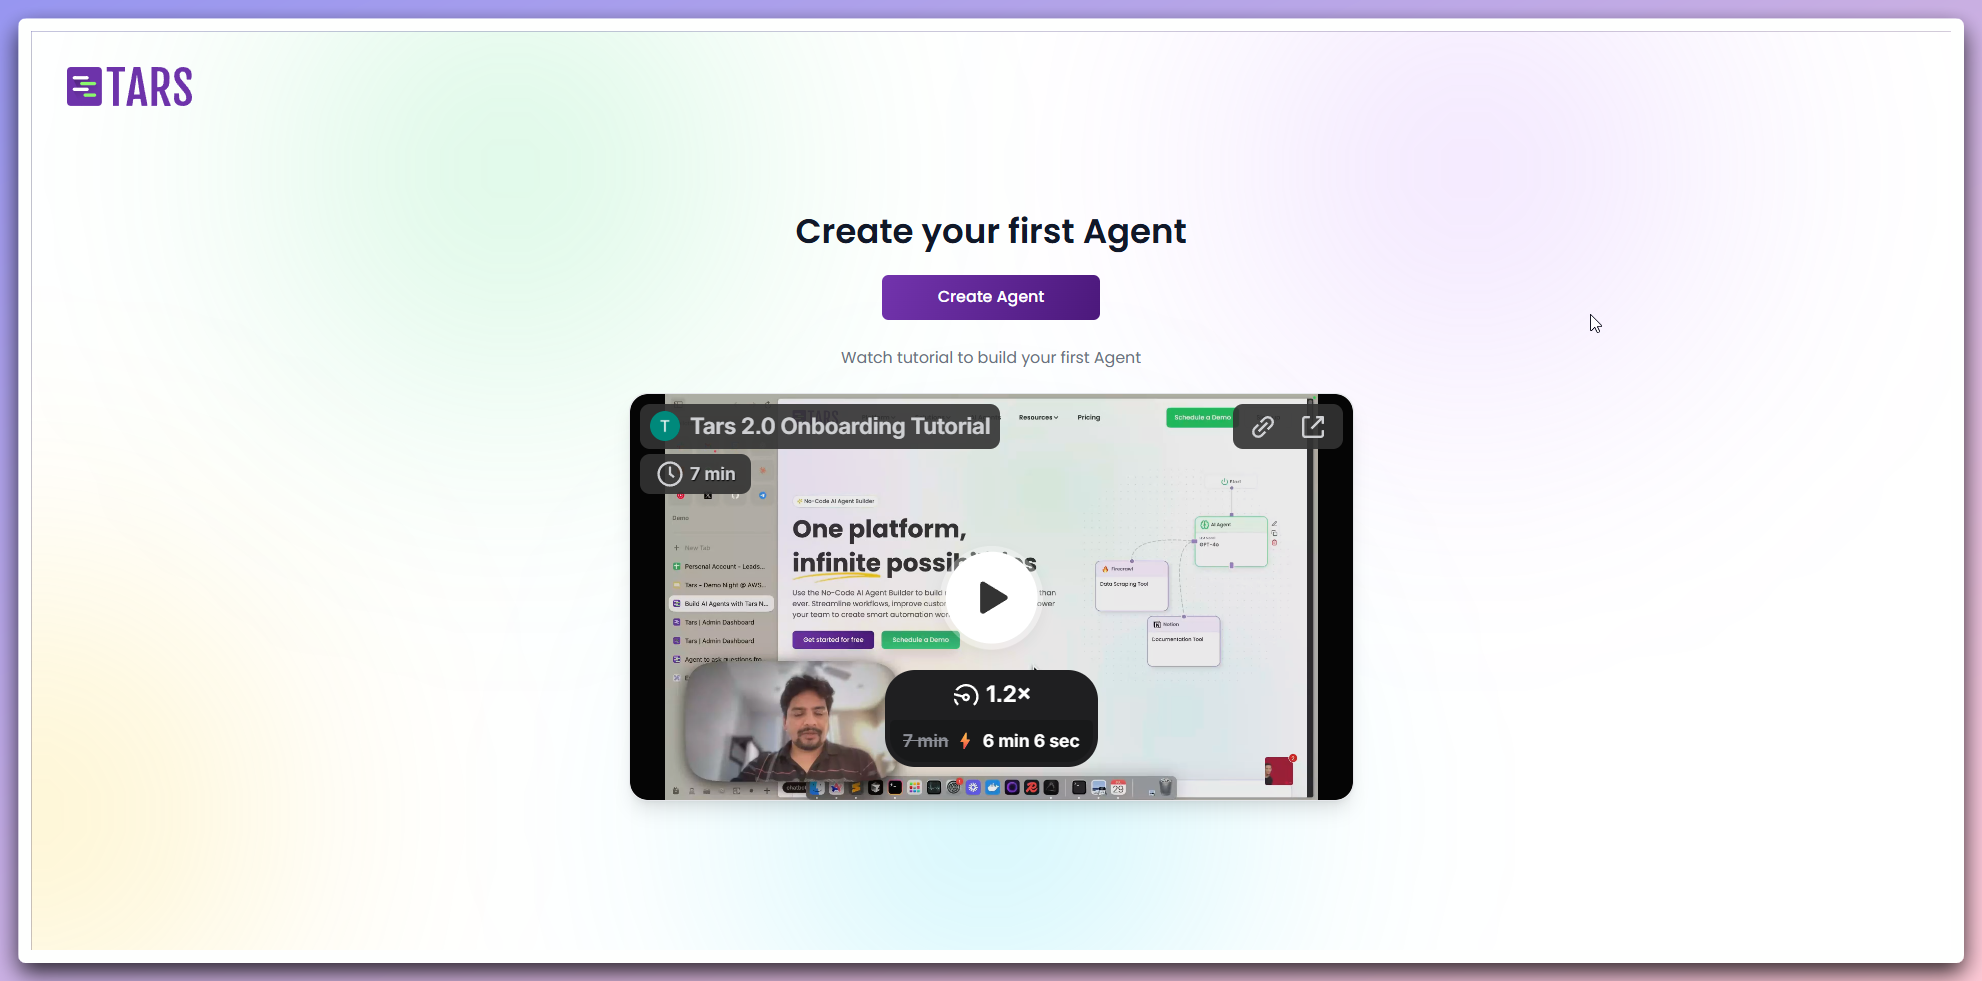
🎉 **Congratulations** on creating your account and logging in! You're now on the onboarding landing page, which introduces you to your personal workspace with a helpful video guide.
You'll see a **Sign Up** button that will take you to the account creation page. Click it to begin setting up your account and start your journey with Tars.
You'll see a simple form where you can enter your information to create your account.
Choose from multiple sign upmethods that work best for you:
### Quick Social Signup
import SocialSignup from "/snippets/account/social-signup.mdx";
### Manual Email Signup
For users who prefer traditional registration:
* **First Name** and **Last Name**
* **Work Email** address
* **Phone Number** with country code
* Click **"Start my free trial now"**
* Set up your password when prompted
* Sign in with your new credentials
**Don't worry if you're unsure!** We have a detailed guide that will help you create your account step by step.
## Exploring the dashboard
🎉 **Congratulations** on creating your account and logging in! You're now on the onboarding landing page, which introduces you to your personal workspace with a helpful video guide.
 Next, you'll see your main dashboard. This is your central hub where you can manage AI Agents, knowledge bases, and tool integrations.
## Sign in options for existing users
If you already have a Tars account, you can sign in using:
### Social Login
**One-click access with existing accounts**
Sign in quickly using your existing social media accounts. All methods are secure and use industry-standard authentication.
## Google Login
Click the **"Continue with Google"** button on the login page.
* Choose your Google account from the list
* If you have multiple accounts, select the one you used to Sign up
* Google will verify your identity
* Review any permission requests
* Click **"Allow"** if prompted
* You're automatically signed in and redirected to your dashboard
* Continue where you left off with your AI Agents
**Same Account**: Use the same Google account you used to Sign up for Tars.
## Outlook Login
Click the **"Continue with Outlook"** button on the login page.
* Choose your Outlook account from the list
* If you have multiple accounts, select the one you used to Sign up
* Microsoft will verify your identity
* Review any permission requests
* Click **"Accept"** if prompted
* You're automatically signed in and redirected to your dashboard
* Continue where you left off with your AI Agents
**Same Account**: Use the same Outlook account you used to Sign up for Tars.
## LinkedIn Login
Click the **"Continue with LinkedIn"** button on the login page.
* Choose your LinkedIn account from the list
* If you have multiple accounts, select the one you used to Sign up
* LinkedIn will verify your identity
* Review any permission requests
* Click **"Allow"** if prompted
* You're automatically signed in and redirected to your dashboard
* Continue where you left off with your AI Agents
**Same Account**: Use the same LinkedIn account you used to Sign up for Tars.
## Enterprise SSO Login
Click the **"Continue with SSO"** button on the login page.
* Choose your organization from the list
* Or enter your organization's SSO domain
* Click **"Continue"**
* You'll be redirected to your organization's login page
* Enter your corporate credentials
* Complete any required two-factor authentication
* You're automatically signed in and redirected to your dashboard
* Continue where you left off with your AI Agents
**Enterprise Ready**: Secure access through your organization's identity provider.
### Email & Password Login
For traditional login:
* Your registered email address
* Your password
* Click "Forgot Password?" link
* Check your email for reset instructions
* Create a new secure password
## Next steps
Now that you're logged in, explore the different sections of your dashboard:
Create and manage your AI Agents
Connect external tools to your agents
Build and manage your content libraries
Configure your account preferences
Get help and access tutorials
**Need to reference this tour again?** Bookmark this page or access it anytime
from the Help menu in your dashboard. You can also restart the interactive
platform tour from your dashboard settings.
Next, you'll see your main dashboard. This is your central hub where you can manage AI Agents, knowledge bases, and tool integrations.
## Sign in options for existing users
If you already have a Tars account, you can sign in using:
### Social Login
**One-click access with existing accounts**
Sign in quickly using your existing social media accounts. All methods are secure and use industry-standard authentication.
## Google Login
Click the **"Continue with Google"** button on the login page.
* Choose your Google account from the list
* If you have multiple accounts, select the one you used to Sign up
* Google will verify your identity
* Review any permission requests
* Click **"Allow"** if prompted
* You're automatically signed in and redirected to your dashboard
* Continue where you left off with your AI Agents
**Same Account**: Use the same Google account you used to Sign up for Tars.
## Outlook Login
Click the **"Continue with Outlook"** button on the login page.
* Choose your Outlook account from the list
* If you have multiple accounts, select the one you used to Sign up
* Microsoft will verify your identity
* Review any permission requests
* Click **"Accept"** if prompted
* You're automatically signed in and redirected to your dashboard
* Continue where you left off with your AI Agents
**Same Account**: Use the same Outlook account you used to Sign up for Tars.
## LinkedIn Login
Click the **"Continue with LinkedIn"** button on the login page.
* Choose your LinkedIn account from the list
* If you have multiple accounts, select the one you used to Sign up
* LinkedIn will verify your identity
* Review any permission requests
* Click **"Allow"** if prompted
* You're automatically signed in and redirected to your dashboard
* Continue where you left off with your AI Agents
**Same Account**: Use the same LinkedIn account you used to Sign up for Tars.
## Enterprise SSO Login
Click the **"Continue with SSO"** button on the login page.
* Choose your organization from the list
* Or enter your organization's SSO domain
* Click **"Continue"**
* You'll be redirected to your organization's login page
* Enter your corporate credentials
* Complete any required two-factor authentication
* You're automatically signed in and redirected to your dashboard
* Continue where you left off with your AI Agents
**Enterprise Ready**: Secure access through your organization's identity provider.
### Email & Password Login
For traditional login:
* Your registered email address
* Your password
* Click "Forgot Password?" link
* Check your email for reset instructions
* Create a new secure password
## Next steps
Now that you're logged in, explore the different sections of your dashboard:
Create and manage your AI Agents
Connect external tools to your agents
Build and manage your content libraries
Configure your account preferences
Get help and access tutorials
**Need to reference this tour again?** Bookmark this page or access it anytime
from the Help menu in your dashboard. You can also restart the interactive
platform tour from your dashboard settings.