> ## Documentation Index
> Fetch the complete documentation index at: https://docs.hellotars.com/llms.txt
> Use this file to discover all available pages before exploring further.
# Create from Template
> Start with pre-built Agent templates for quick setup
Creating an Agent from a template gives you a head start with pre-built workflows, proven conversation patterns, and industry-specific configurations that you can customize for your specific use case.
### What you get
**Proven foundation**
* **Industry expertise**: Templates built with best practices for specific industries
* **Pre-built workflows**: Ready-to-use conversation flows and decision trees
* **Optimized responses**: Tested and refined response patterns
* **Quick deployment**: Get your Agent up and running in minutes
* **Customization flexibility**: Modify any aspect to match your specific needs
### Perfect for
* **Quick start**: When you need to deploy an Agent quickly
* **Industry standards**: When you want to follow proven patterns for your industry
* **Learning**: When you want to understand how successful agents are structured
* **Consistency**: When you want to maintain consistent quality across multiple agents
* **Time constraints**: When you have limited time for Agent development
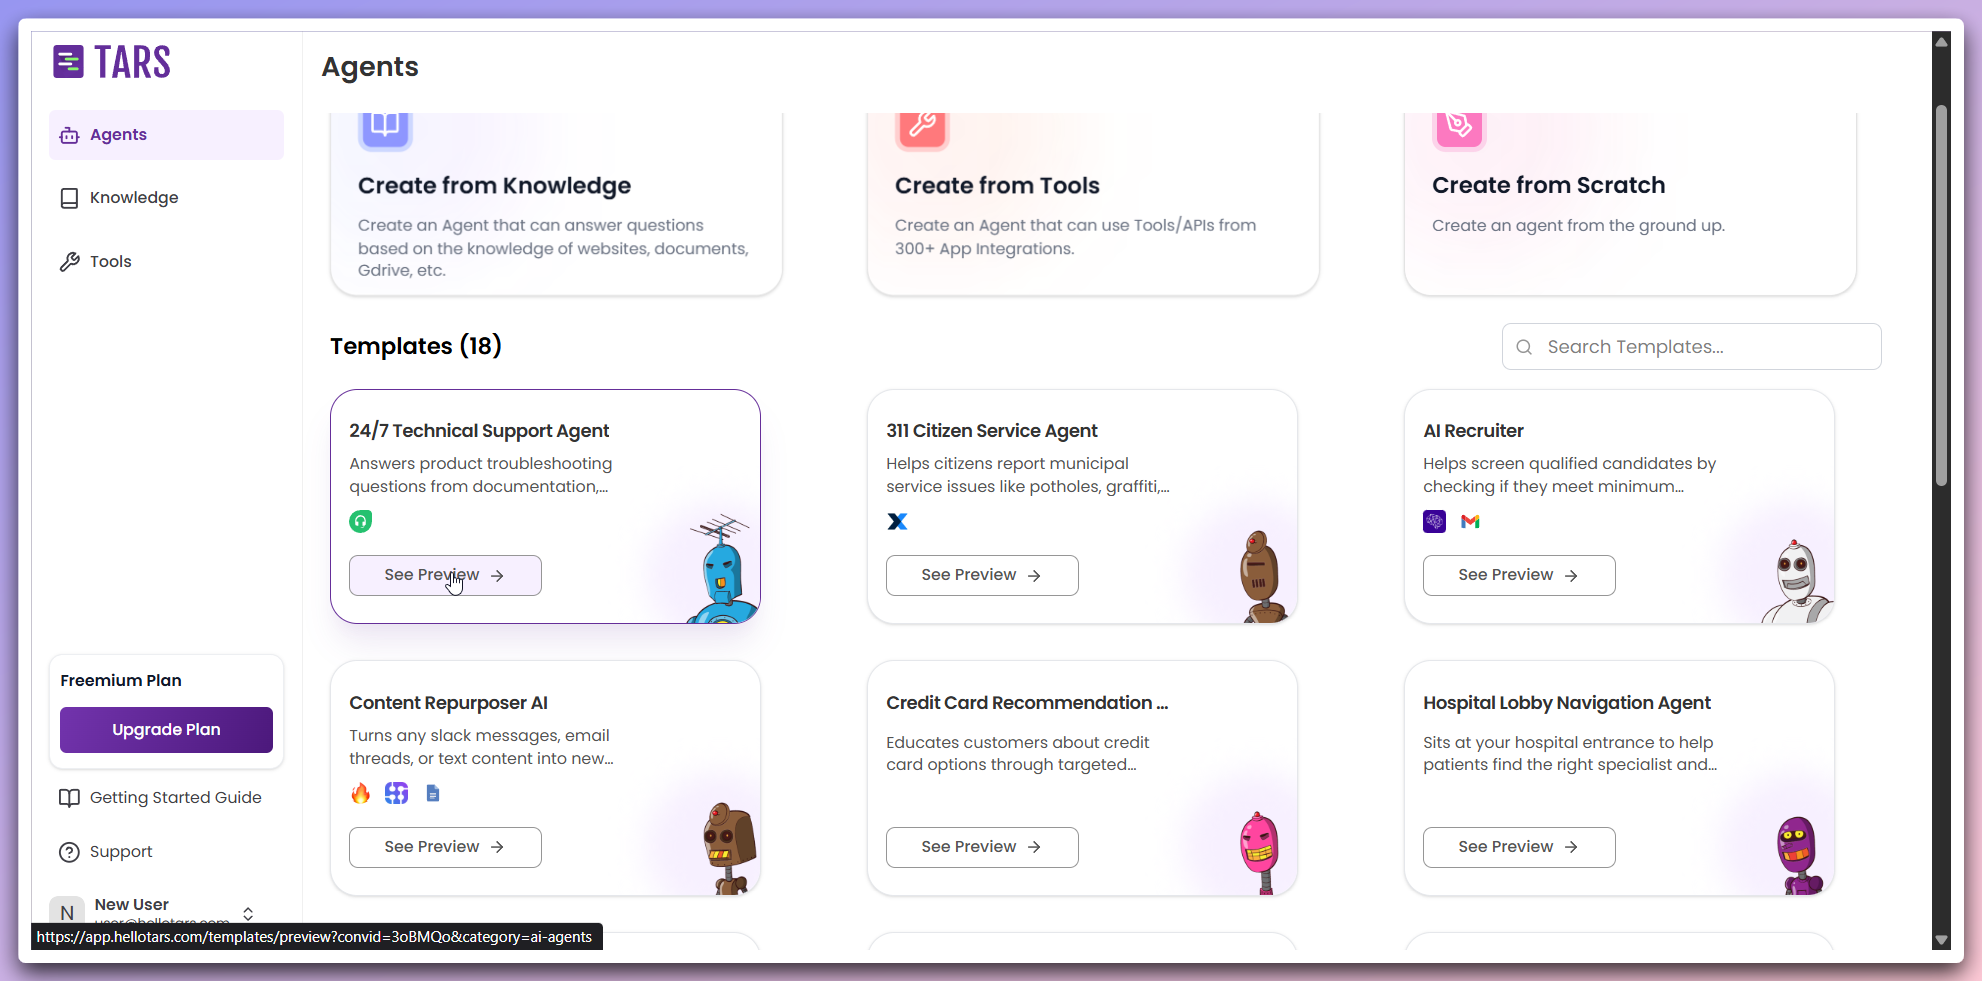
### Step-by-step creation process
In the Create Agent section, browse through the available templates and click `See Preview` on the template card you want to explore.
 View the template details including name, description, and tools used in the
template.
View the template details including name, description, and tools used in the
template.
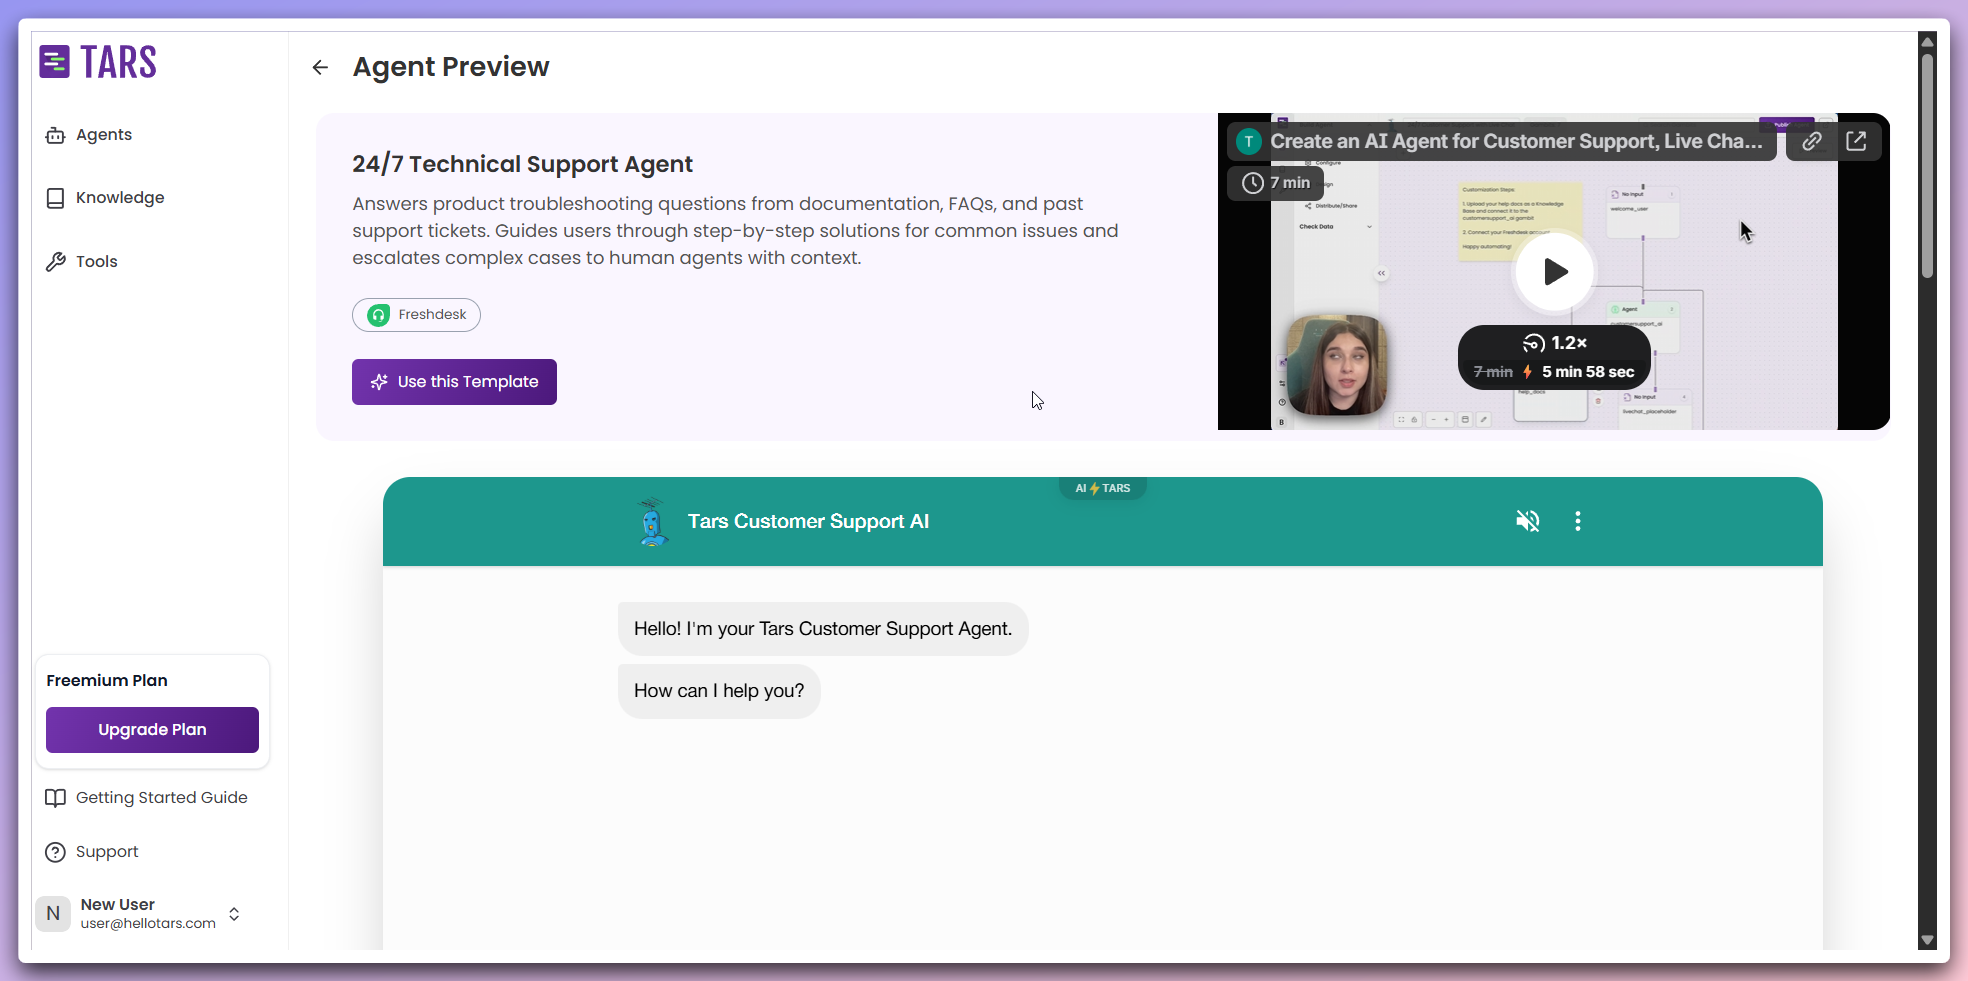 Utilize the video demonstration to gain insights into the template's capabilities and conversation flow.
**Video Content:**
* **Building Process**: Provides a step-by-step guide on constructing the template.
* **Functionality Demonstration**: Illustrates the template in action.
* **Best Practices**: Explains the rationale behind template design decisions.
Interact with the live chatbot widget to test the template's capabilities and
conversation flow.
Utilize the video demonstration to gain insights into the template's capabilities and conversation flow.
**Video Content:**
* **Building Process**: Provides a step-by-step guide on constructing the template.
* **Functionality Demonstration**: Illustrates the template in action.
* **Best Practices**: Explains the rationale behind template design decisions.
Interact with the live chatbot widget to test the template's capabilities and
conversation flow.
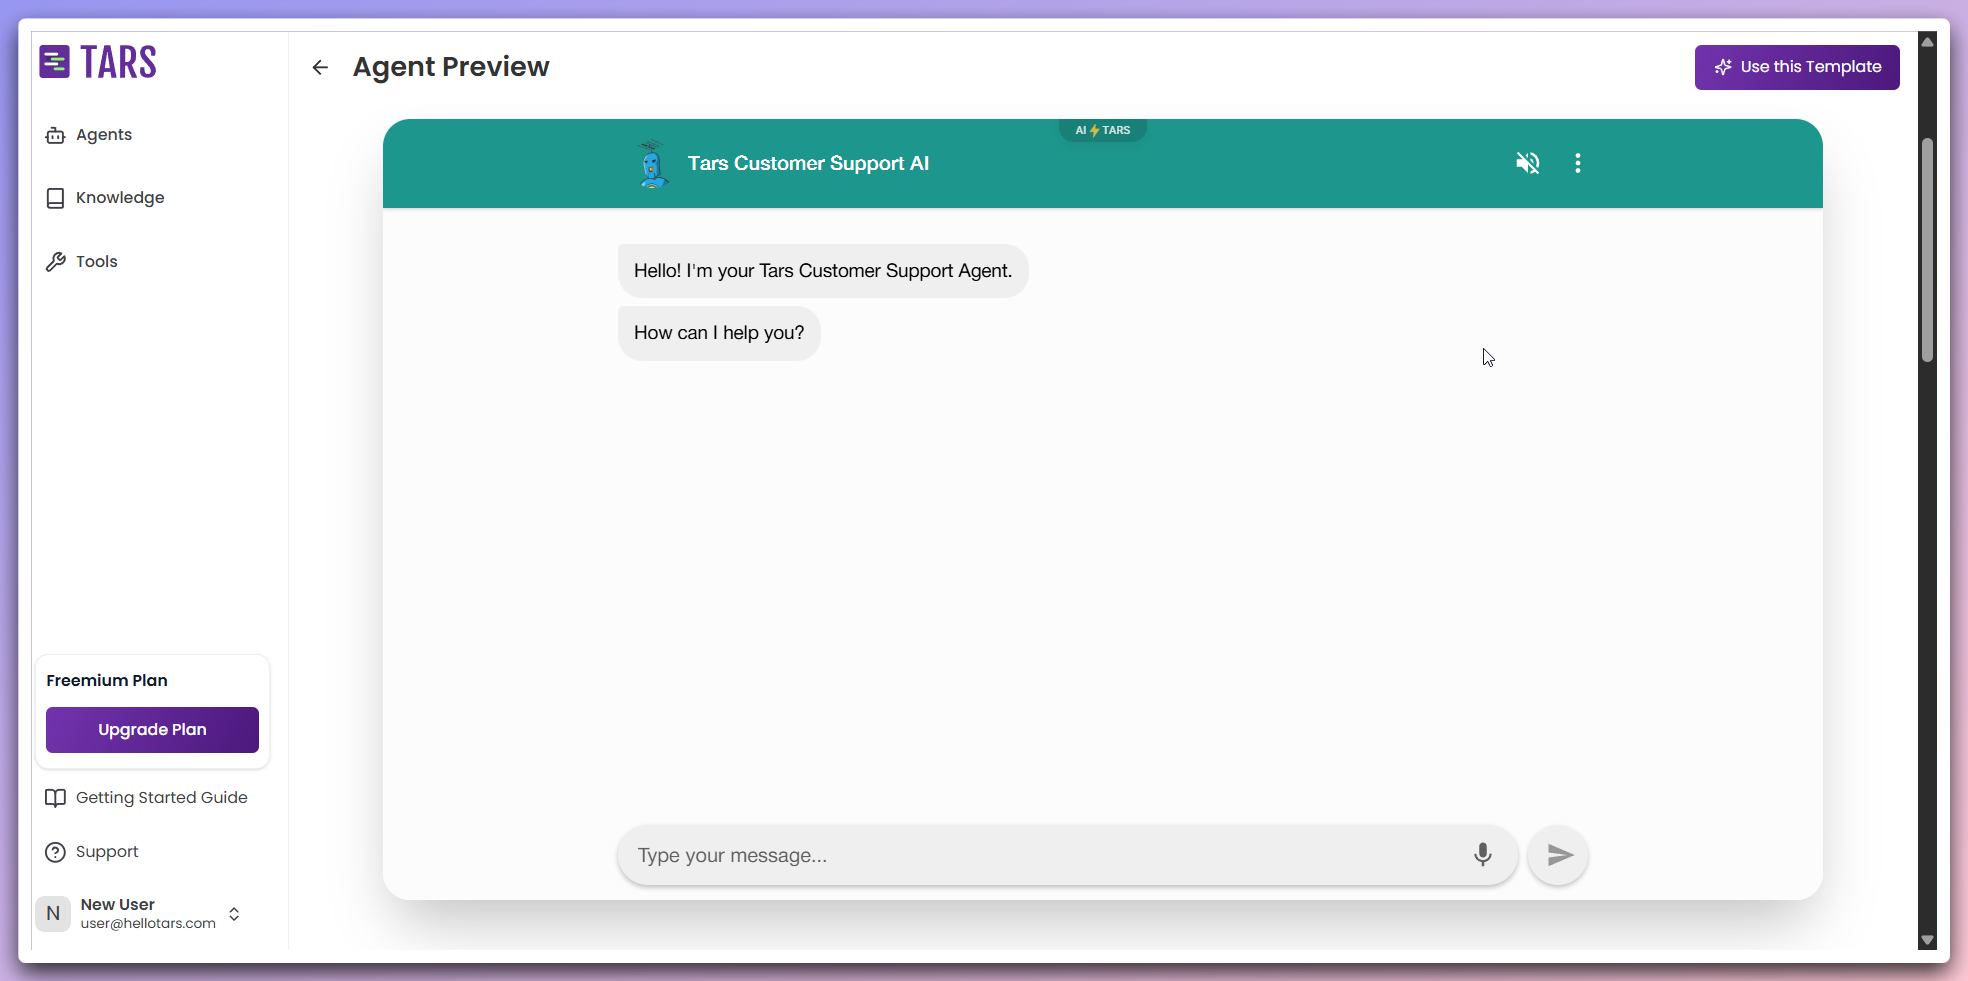 **Interactive testing:**
* **Live interaction**: Chat with the template to see how it responds.
* **Functionality testing**: Test different conversation scenarios and edge cases.
* **Response evaluation**: Assess the quality and relevance of template responses.
Read the comprehensive step-by-step setup guide for implementing the template.
**Interactive testing:**
* **Live interaction**: Chat with the template to see how it responds.
* **Functionality testing**: Test different conversation scenarios and edge cases.
* **Response evaluation**: Assess the quality and relevance of template responses.
Read the comprehensive step-by-step setup guide for implementing the template.
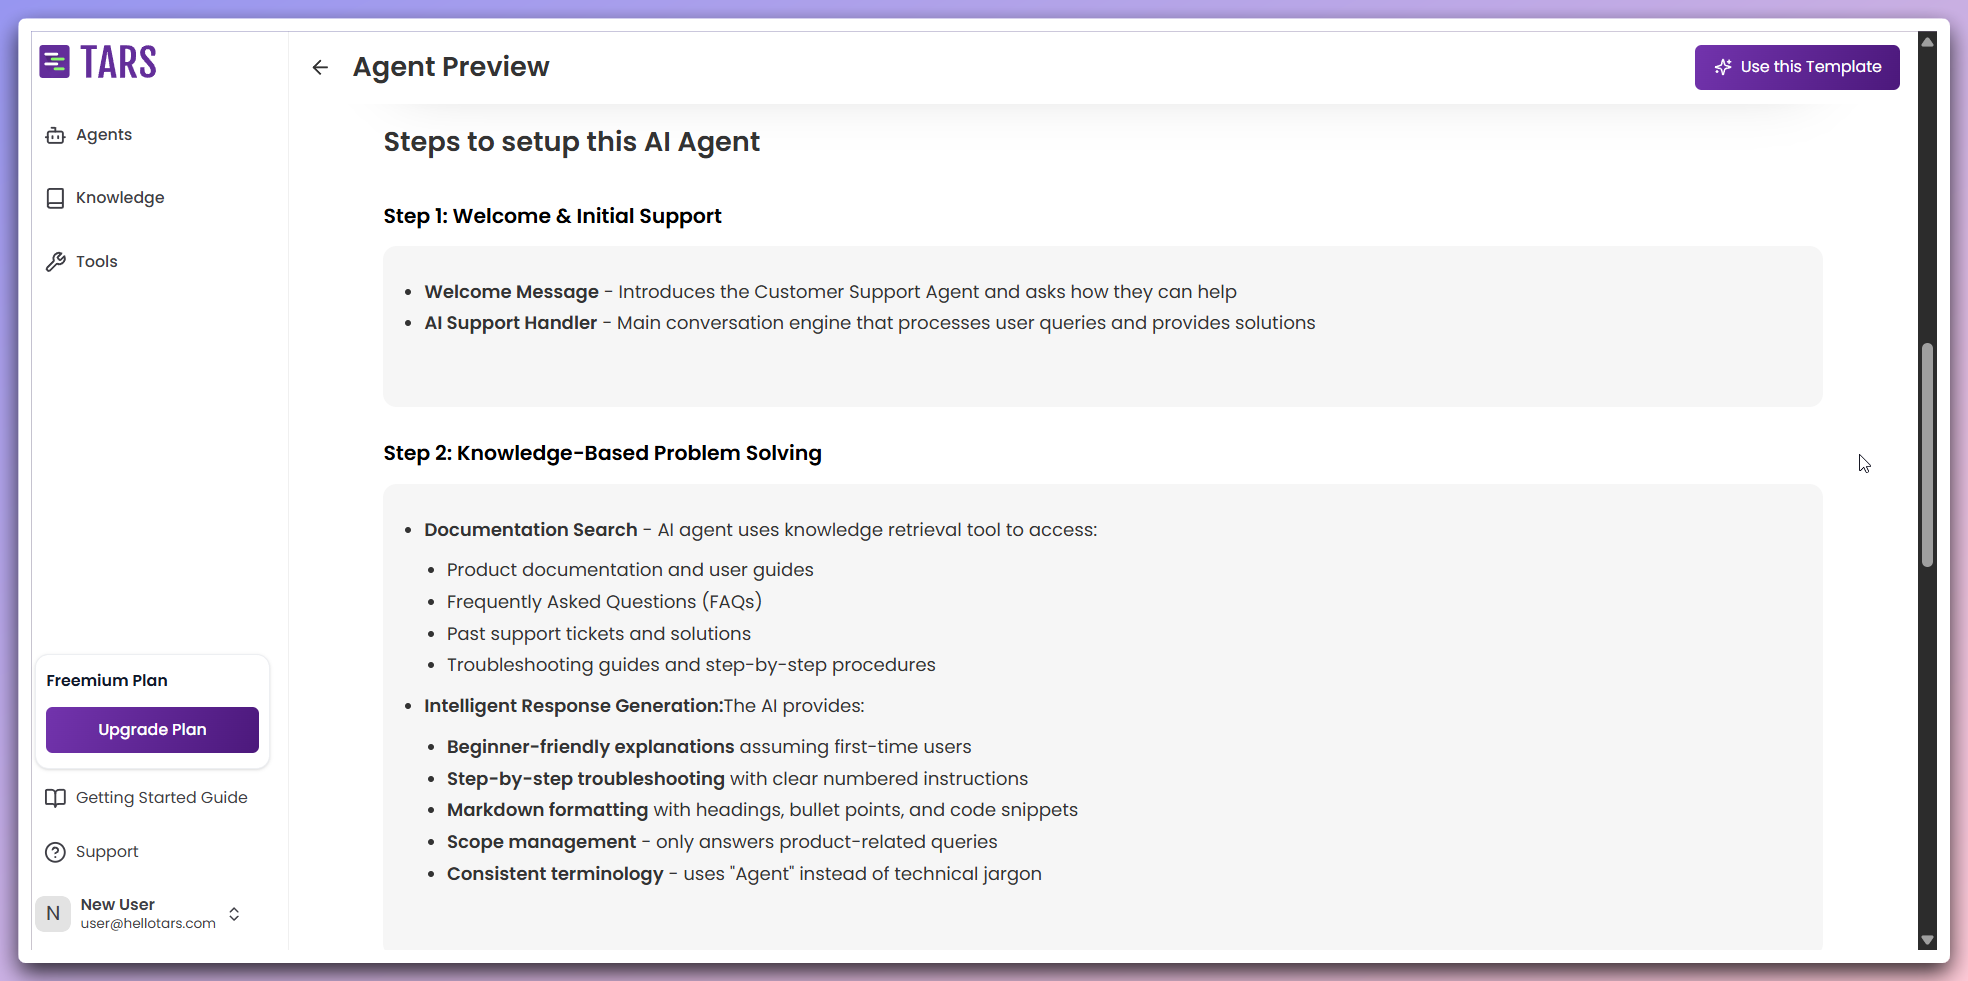 **Setup guide includes:**
* **Implementation steps**: Detailed instructions for setting up the template
* **Configuration details**: How to customize the template for your needs
* **Best practices**: Recommendations for optimal template usage
* **Troubleshooting**: Common issues and solutions
After reviewing the template details and testing the preview, click `Use Template` to create your Agent.
**Setup guide includes:**
* **Implementation steps**: Detailed instructions for setting up the template
* **Configuration details**: How to customize the template for your needs
* **Best practices**: Recommendations for optimal template usage
* **Troubleshooting**: Common issues and solutions
After reviewing the template details and testing the preview, click `Use Template` to create your Agent.
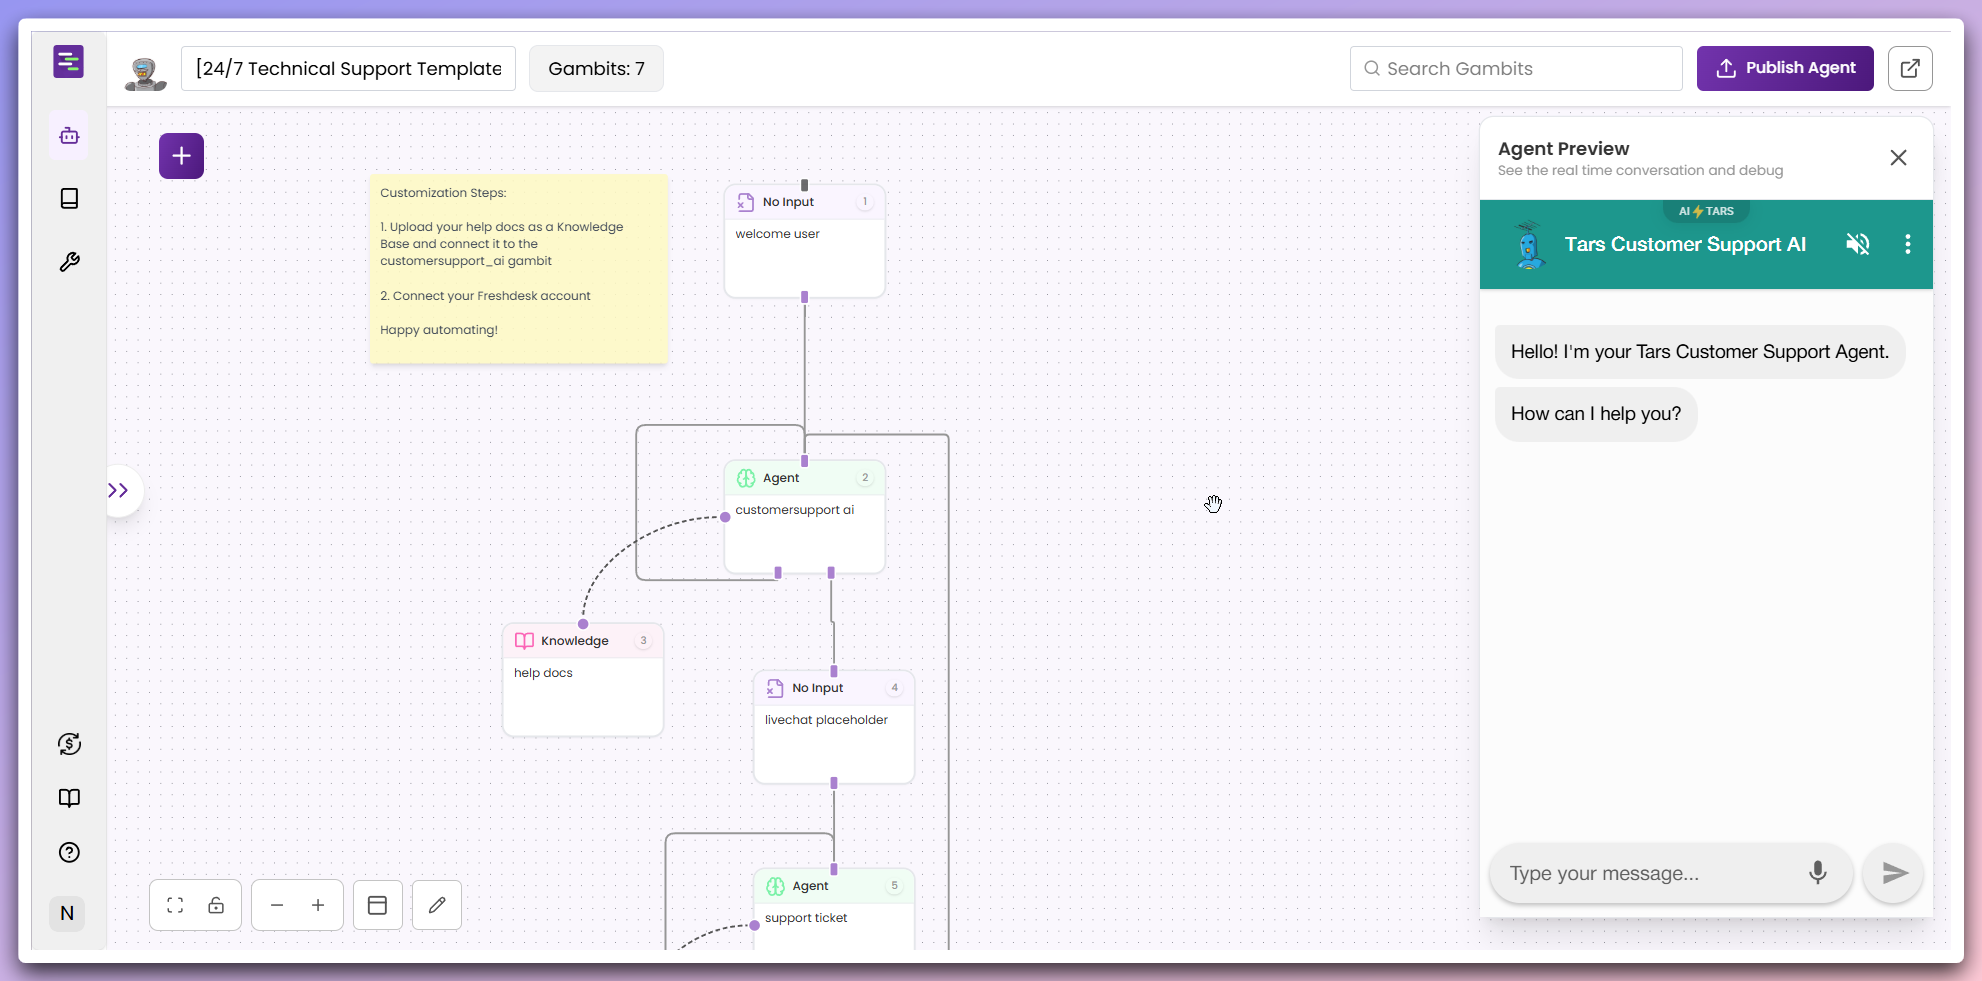 **Agent creation:**
* **Template applied**: Your Agent is created with all template configurations
* **Ready for customization**: Agent is ready in the canvas for further modifications
* **Immediate functionality**: Agent works immediately with the template's pre-built workflows
**Best of Both Worlds**: Templates provide a solid foundation, but don't
hesitate to customize them extensively to match your unique requirements.
**Template Updates**: Our templates are regularly updated with improvements.
You can choose to adopt new features or maintain your customizations.
**Agent creation:**
* **Template applied**: Your Agent is created with all template configurations
* **Ready for customization**: Agent is ready in the canvas for further modifications
* **Immediate functionality**: Agent works immediately with the template's pre-built workflows
**Best of Both Worlds**: Templates provide a solid foundation, but don't
hesitate to customize them extensively to match your unique requirements.
**Template Updates**: Our templates are regularly updated with improvements.
You can choose to adopt new features or maintain your customizations.