> ## Documentation Index
> Fetch the complete documentation index at: https://docs.hellotars.com/llms.txt
> Use this file to discover all available pages before exploring further.
# Explore the available setting options
> Configure your account preferences, billing, channels, and advanced platform settings
The Settings page provides comprehensive control over your account configuration, billing preferences, channel integrations, and advanced platform settings. Access all your account management options from one centralized location.
## Accessing Settings
Navigate to the bottom-left corner of the sidebar and click on your username and email address.
 This opens a quick access panel with your profile information and navigation options.
A quick panel will appear showing your user information and available options.
This opens a quick access panel with your profile information and navigation options.
A quick panel will appear showing your user information and available options.
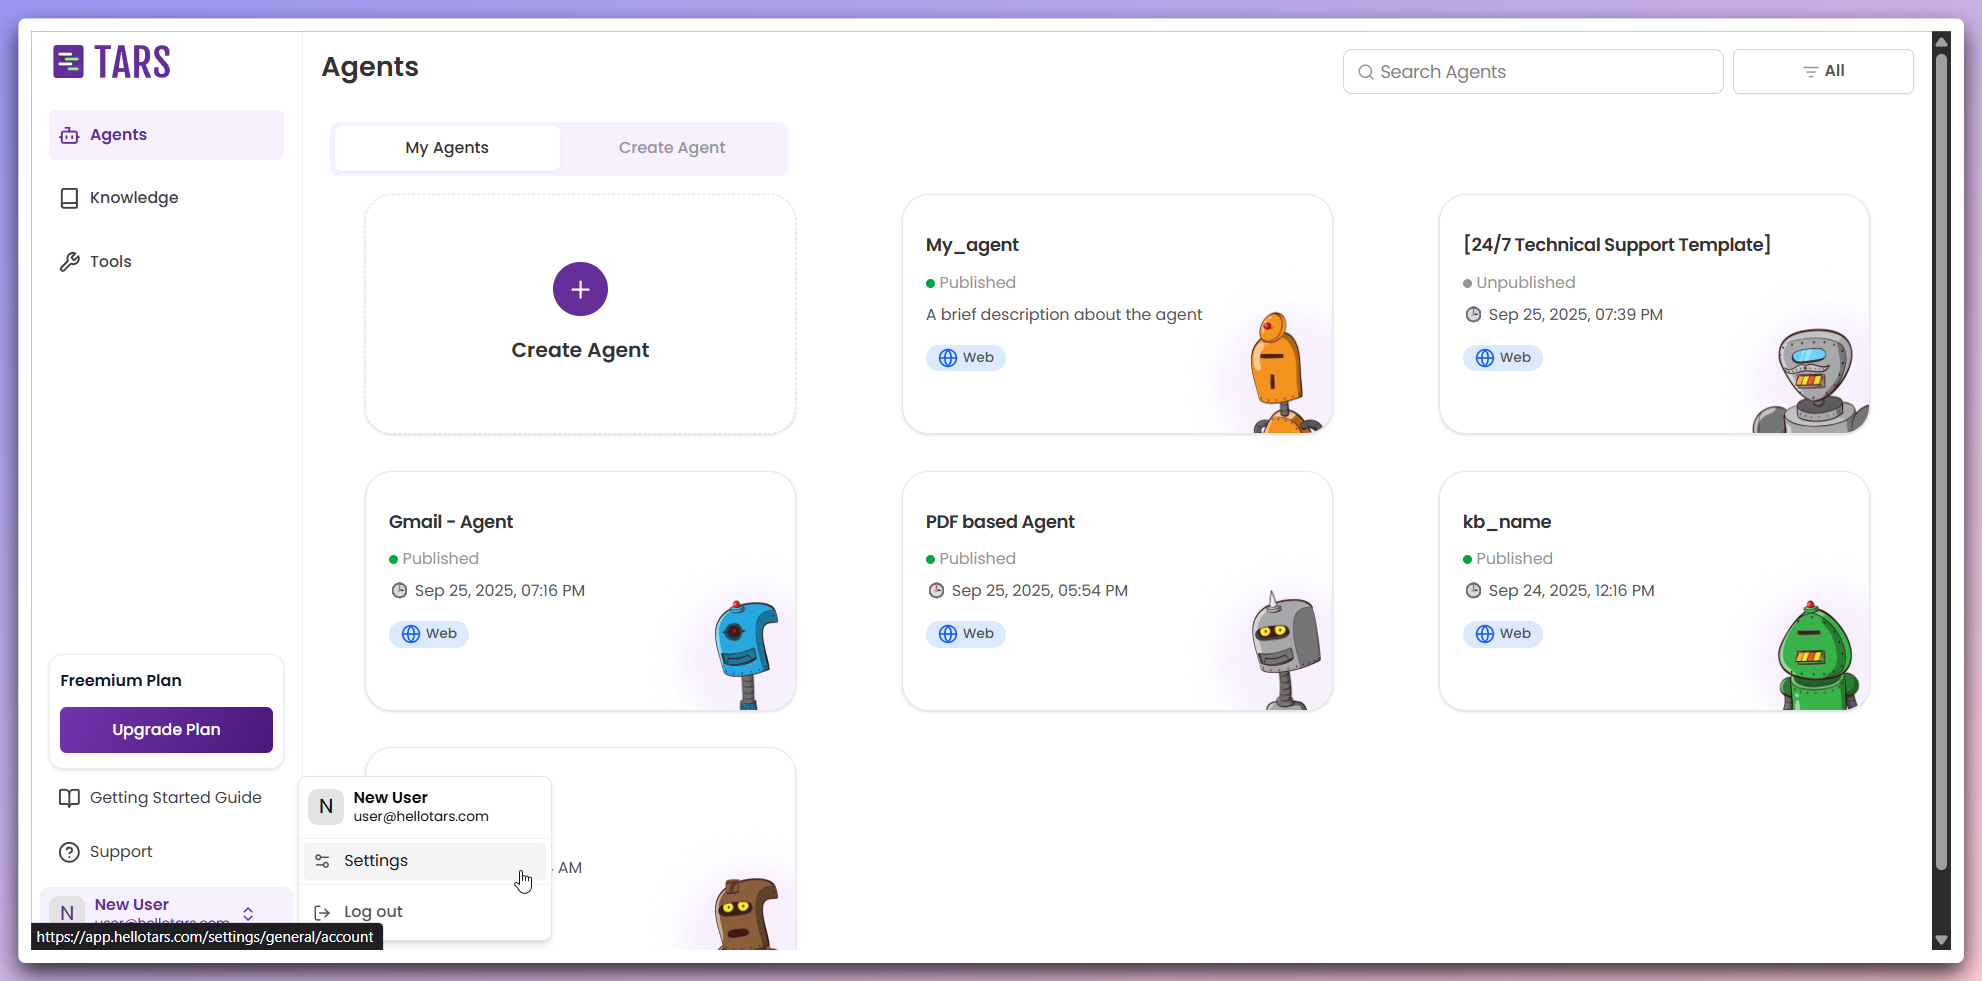 **Available options:**
* Your username and email address
* **Settings** option to access account configuration
* **Logout** option to sign out of your account
The quick panel provides quick access to essential account functions without
leaving your current workspace.
Click on the **Settings** option in the quick panel to access the main Settings page.
**Available options:**
* Your username and email address
* **Settings** option to access account configuration
* **Logout** option to sign out of your account
The quick panel provides quick access to essential account functions without
leaving your current workspace.
Click on the **Settings** option in the quick panel to access the main Settings page.
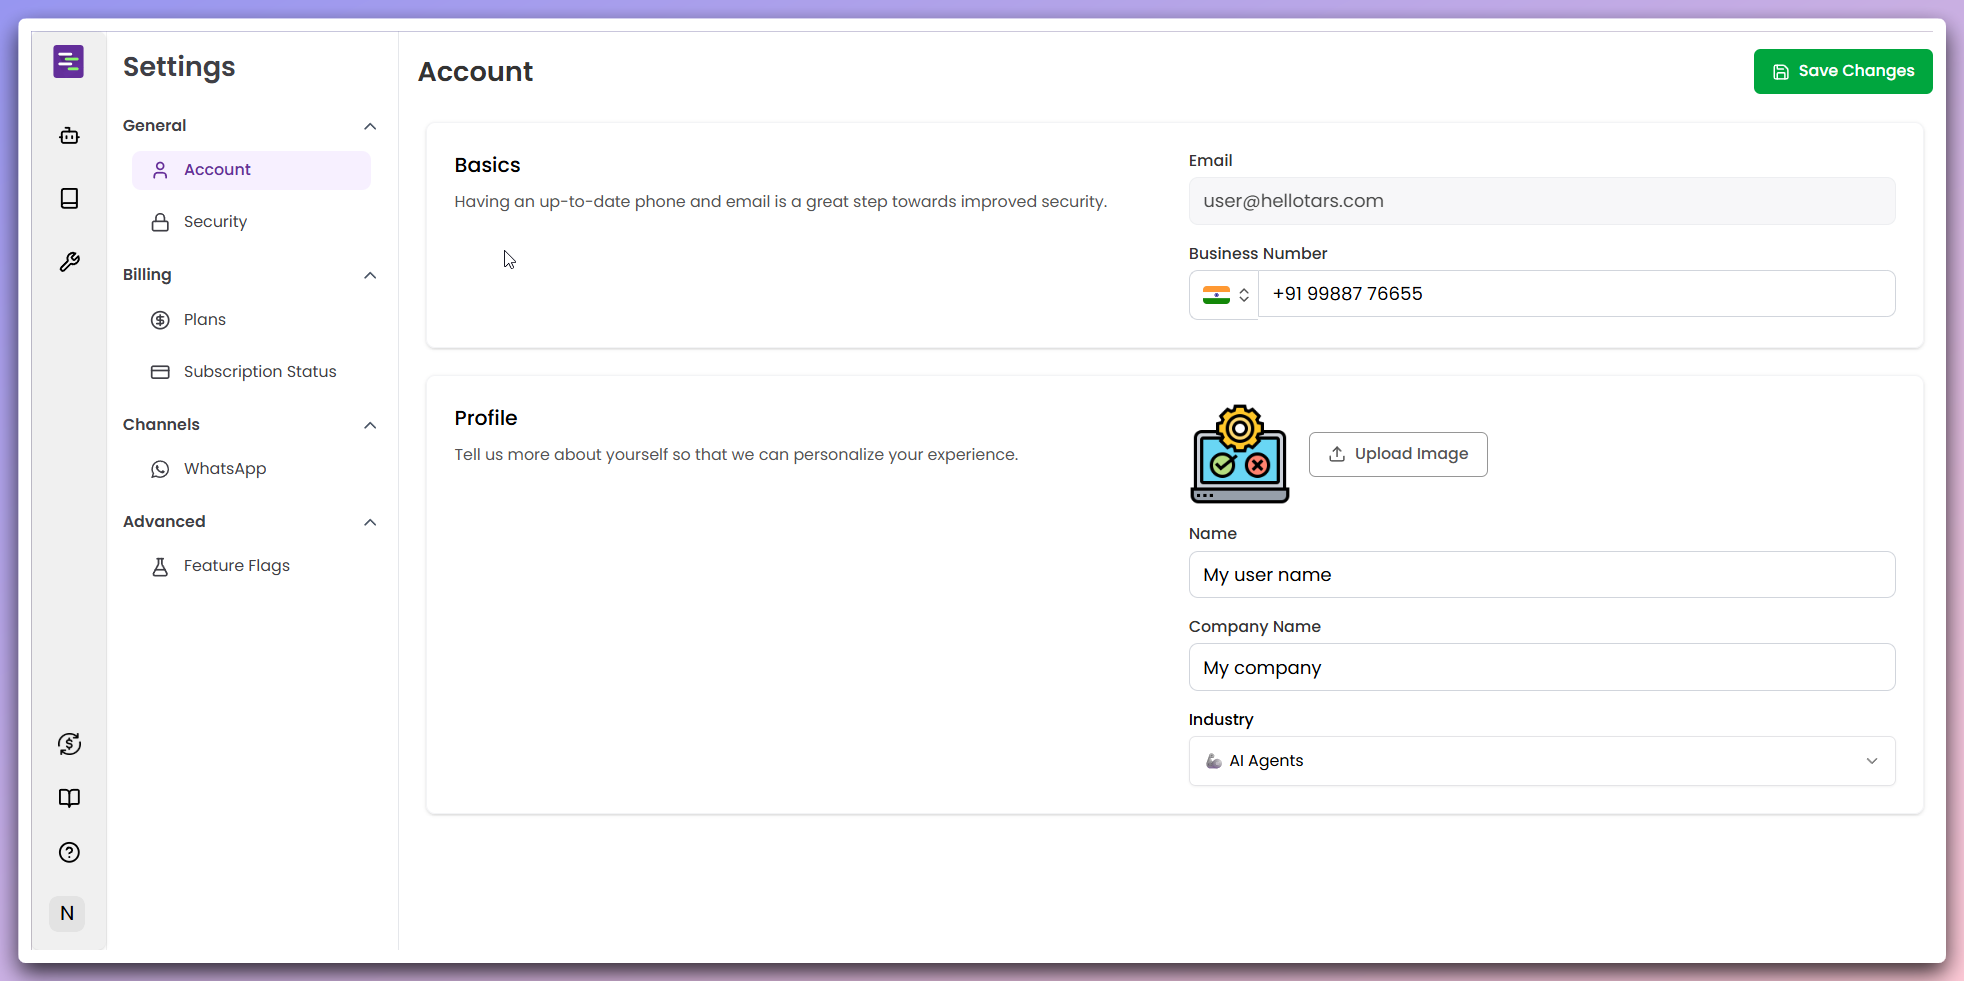 You'll be redirected to the comprehensive Settings page with all available configuration options.
## Settings sections
Update your profile and personal information
Manage subscription, payment methods, and invoices
Configure WhatsApp and other channel integrations
Customize platform behavior and preferences
You'll be redirected to the comprehensive Settings page with all available configuration options.
## Settings sections
Update your profile and personal information
Manage subscription, payment methods, and invoices
Configure WhatsApp and other channel integrations
Customize platform behavior and preferences