What you get
Complete customization control- Custom personality: Define your Agent’s tone, style, and communication approach
- Flexible workflow: Design conversation flows that match your specific use case
- Custom responses: Craft unique responses for different scenarios
- Integration flexibility: Connect any tools or knowledge bases you need
- Brand alignment: Ensure your Agent perfectly represents your brand voice
Perfect for
- Unique use cases: When you have specific requirements not covered by templates
- Brand-specific agents: When you need complete control over personality and tone
- Complex workflows: When you need sophisticated conversation logic
- Custom integrations: When you need to connect specific tools or systems
- Learning purposes: When you want to understand how agents work from the ground up
Step-by-step creation process
Click Create from Scratch card
Navigate to the Create Agent page and click on the 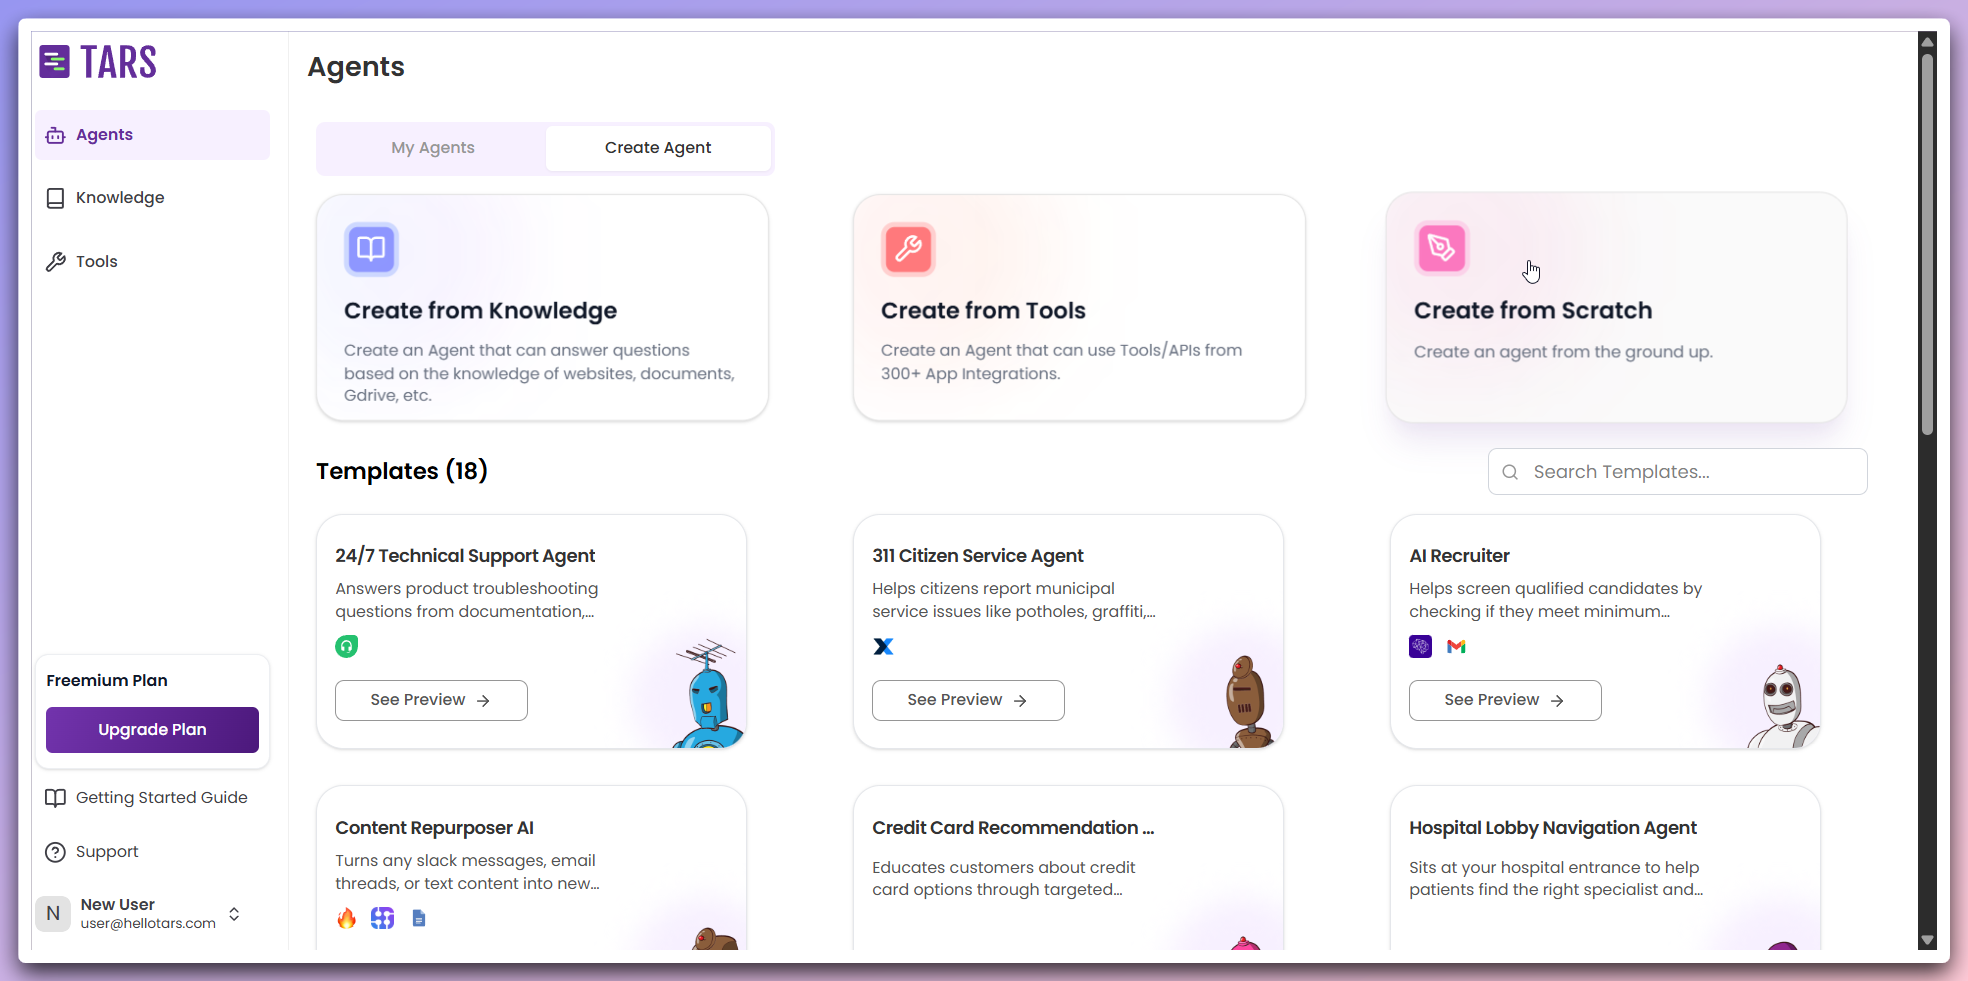
Create from Scratch card to begin the process.This opens a modal dialog where you can configure your custom Agent.
Configure basic details
In the modal, provide the essential information for your Agent: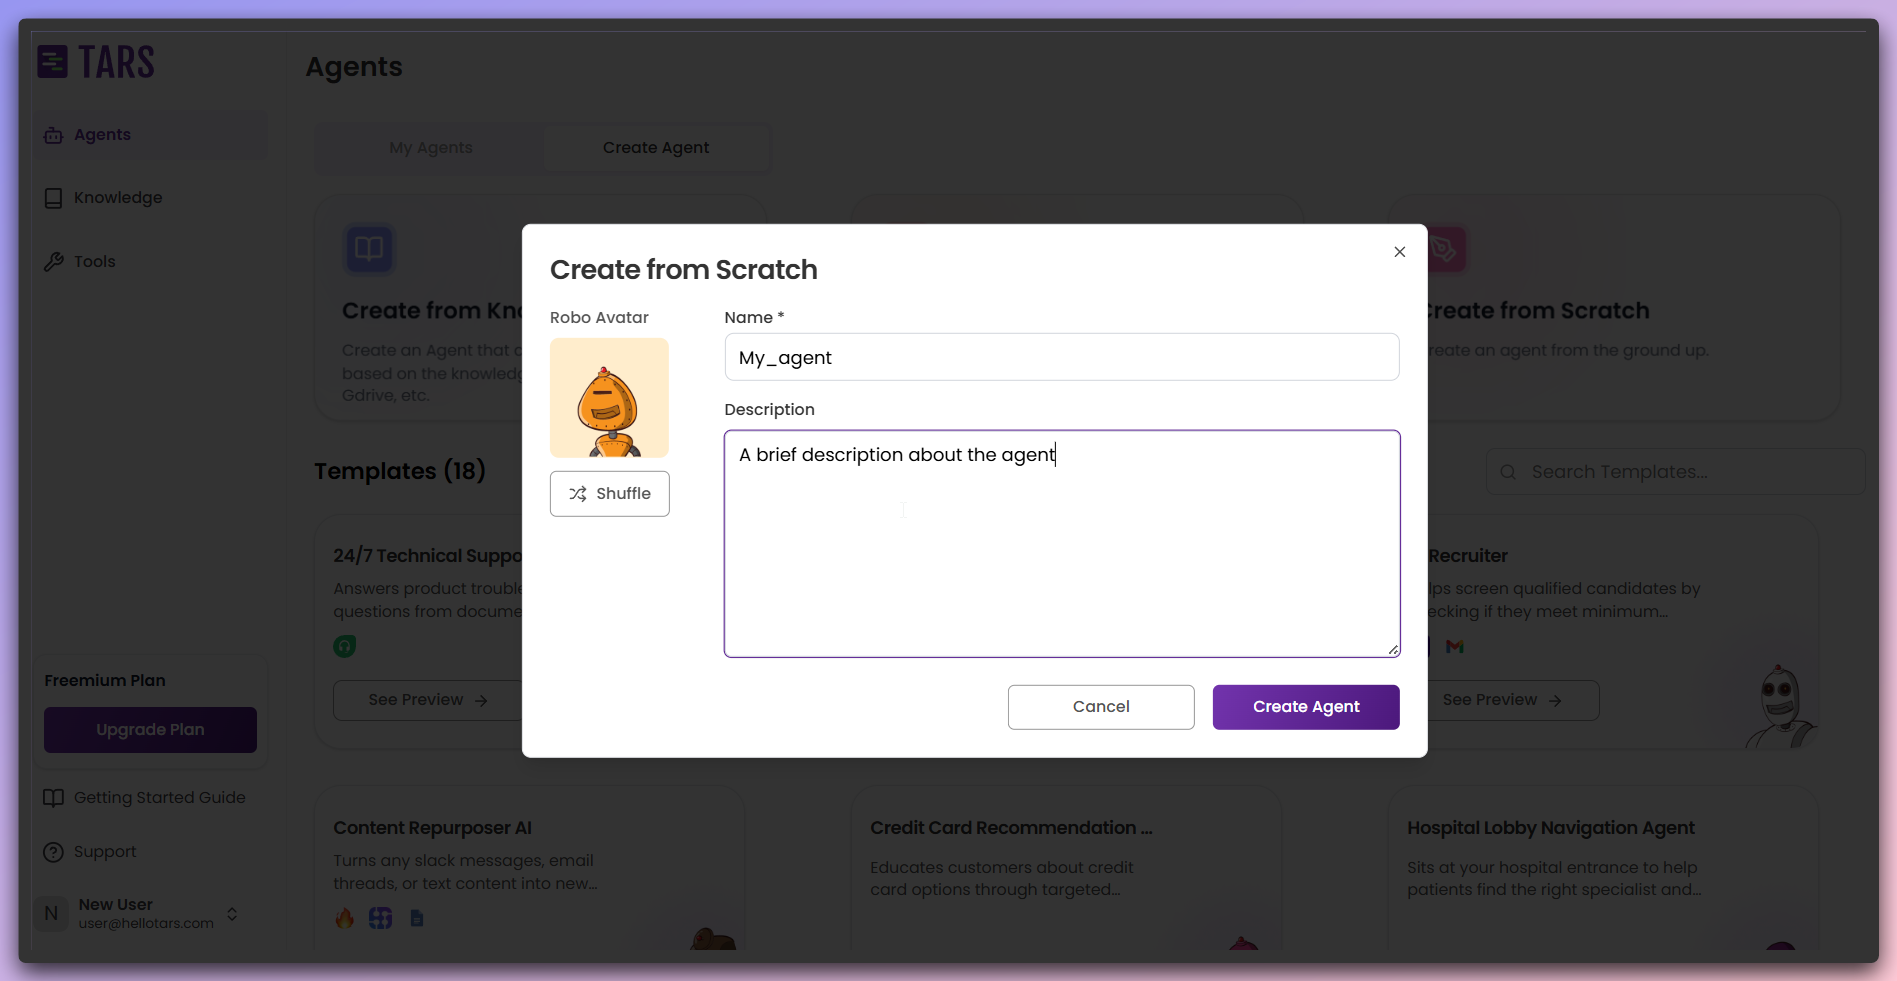
- Agent Name: Enter a descriptive name for your Agent.
- Description: Provide a brief description of your Agent’s purpose.
- Icon: Click the
shufflebutton to cycle through available icons or keep the default.Once configured, clickChoose a name and description that clearly communicate your Agent’s purpose to users.Create Agentto proceed to the builder canvas.
Access the builder canvas
After clicking Create Agent, you’ll be redirected to the Make section’s
builder canvas.
The builder canvas provides a visual interface for designing your Agent’s
conversation flow.
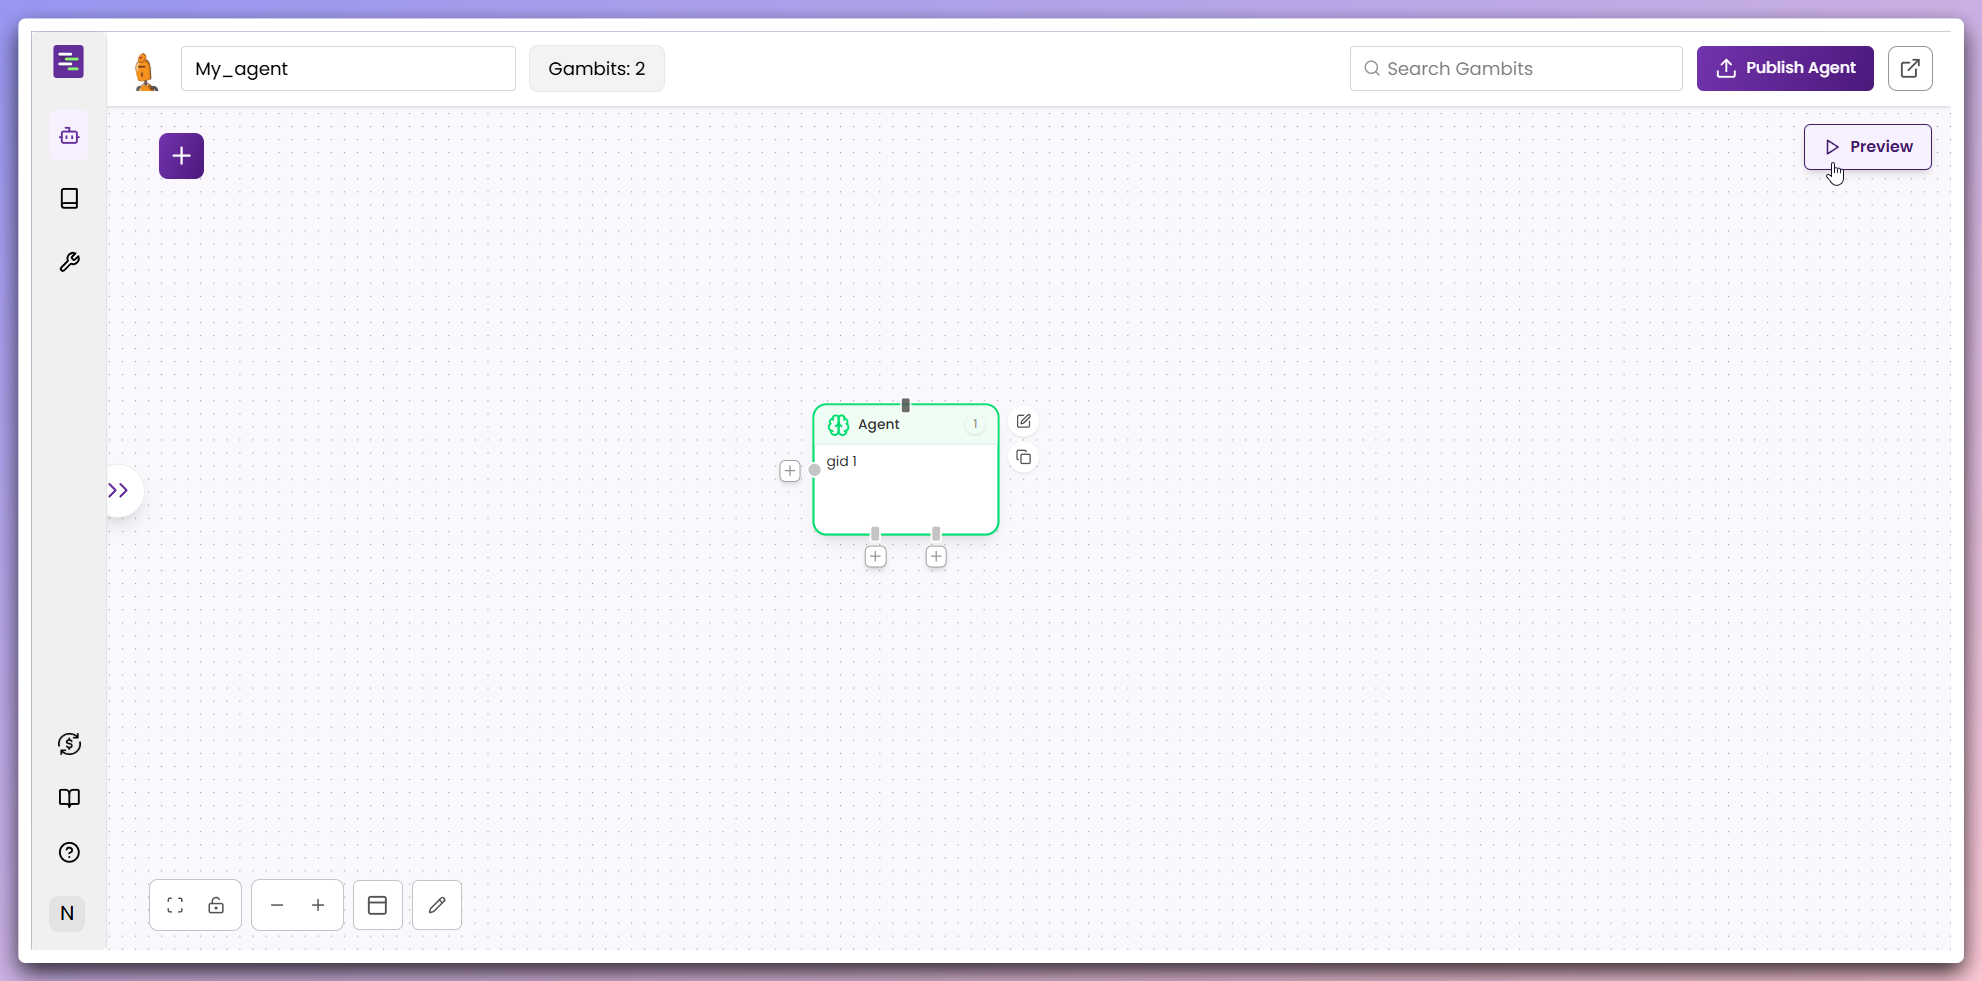
Add gambits to your workflow
Click the 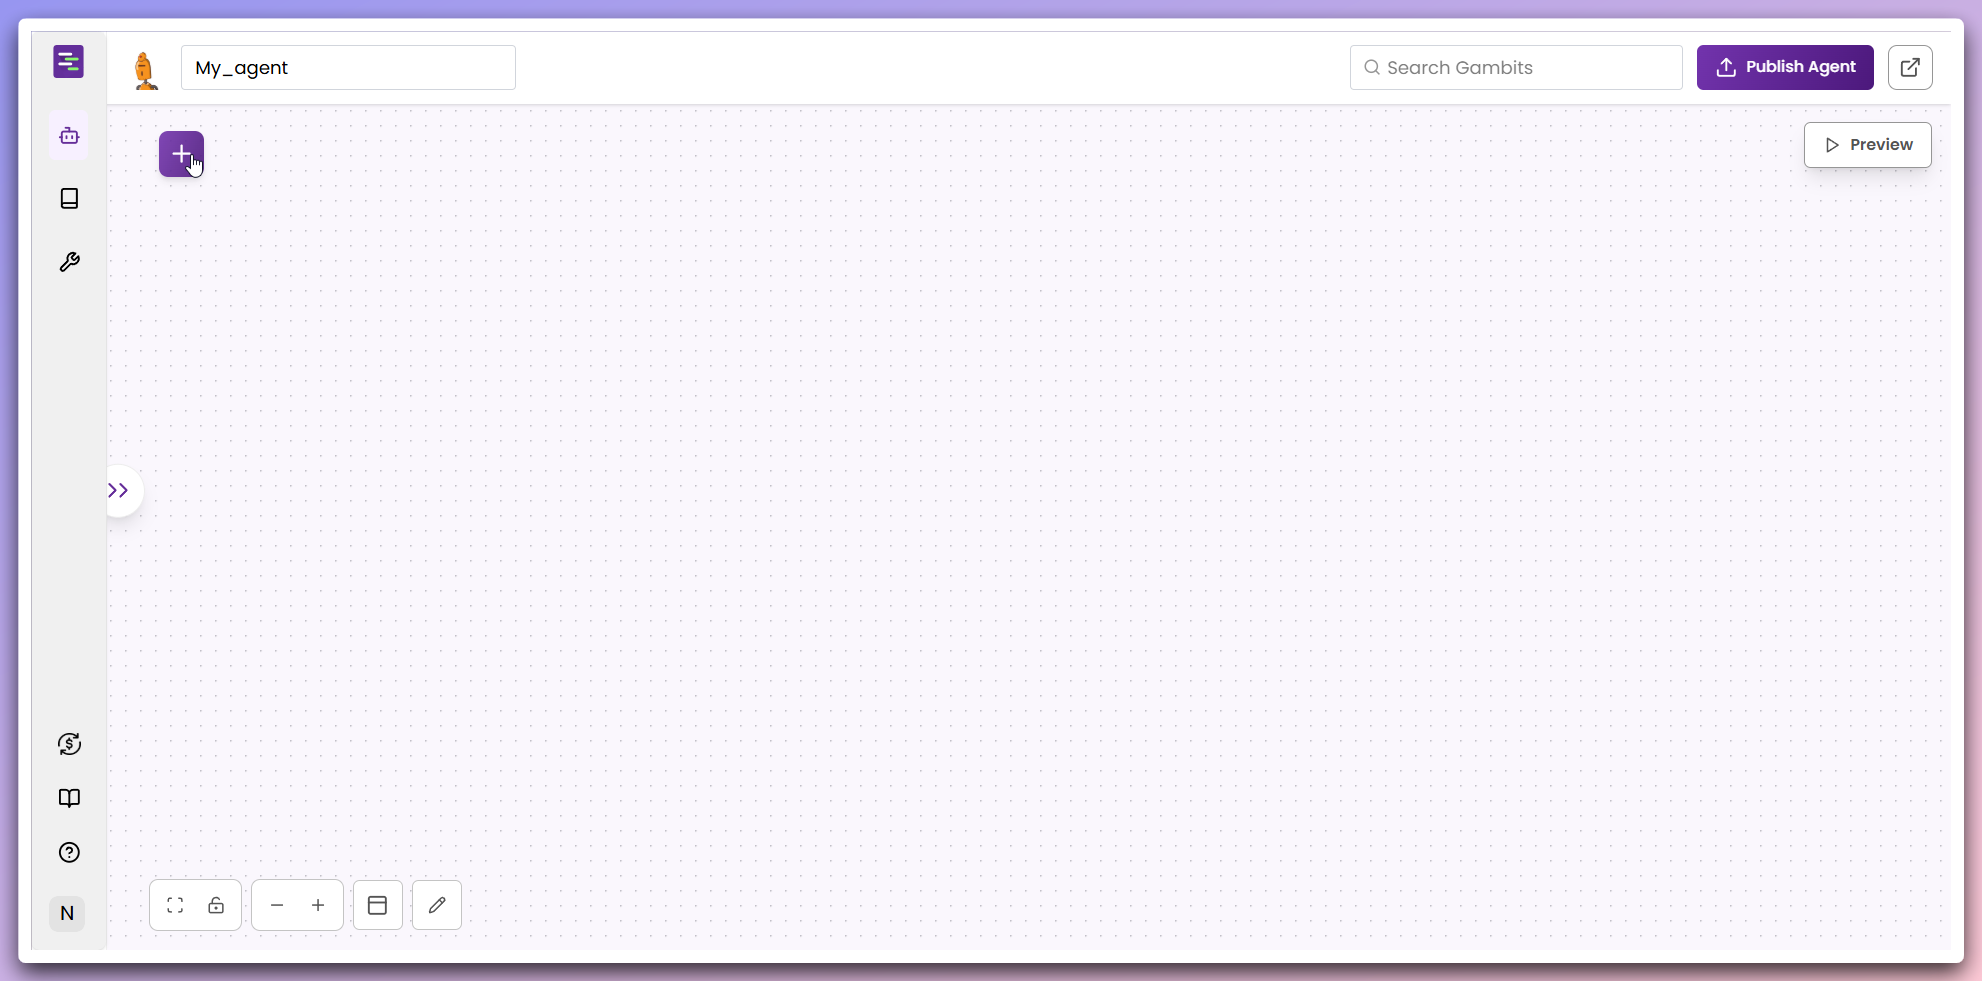
+ (plus) icon in the top-left corner of the builder canvas to open
the gambits panel.This opens a panel containing all available gambits for building your
Agent’s workflow.
Select and add Agent gambit
In the gambits panel, you’ll see various gambit types. For a simple Agent
flow, select the 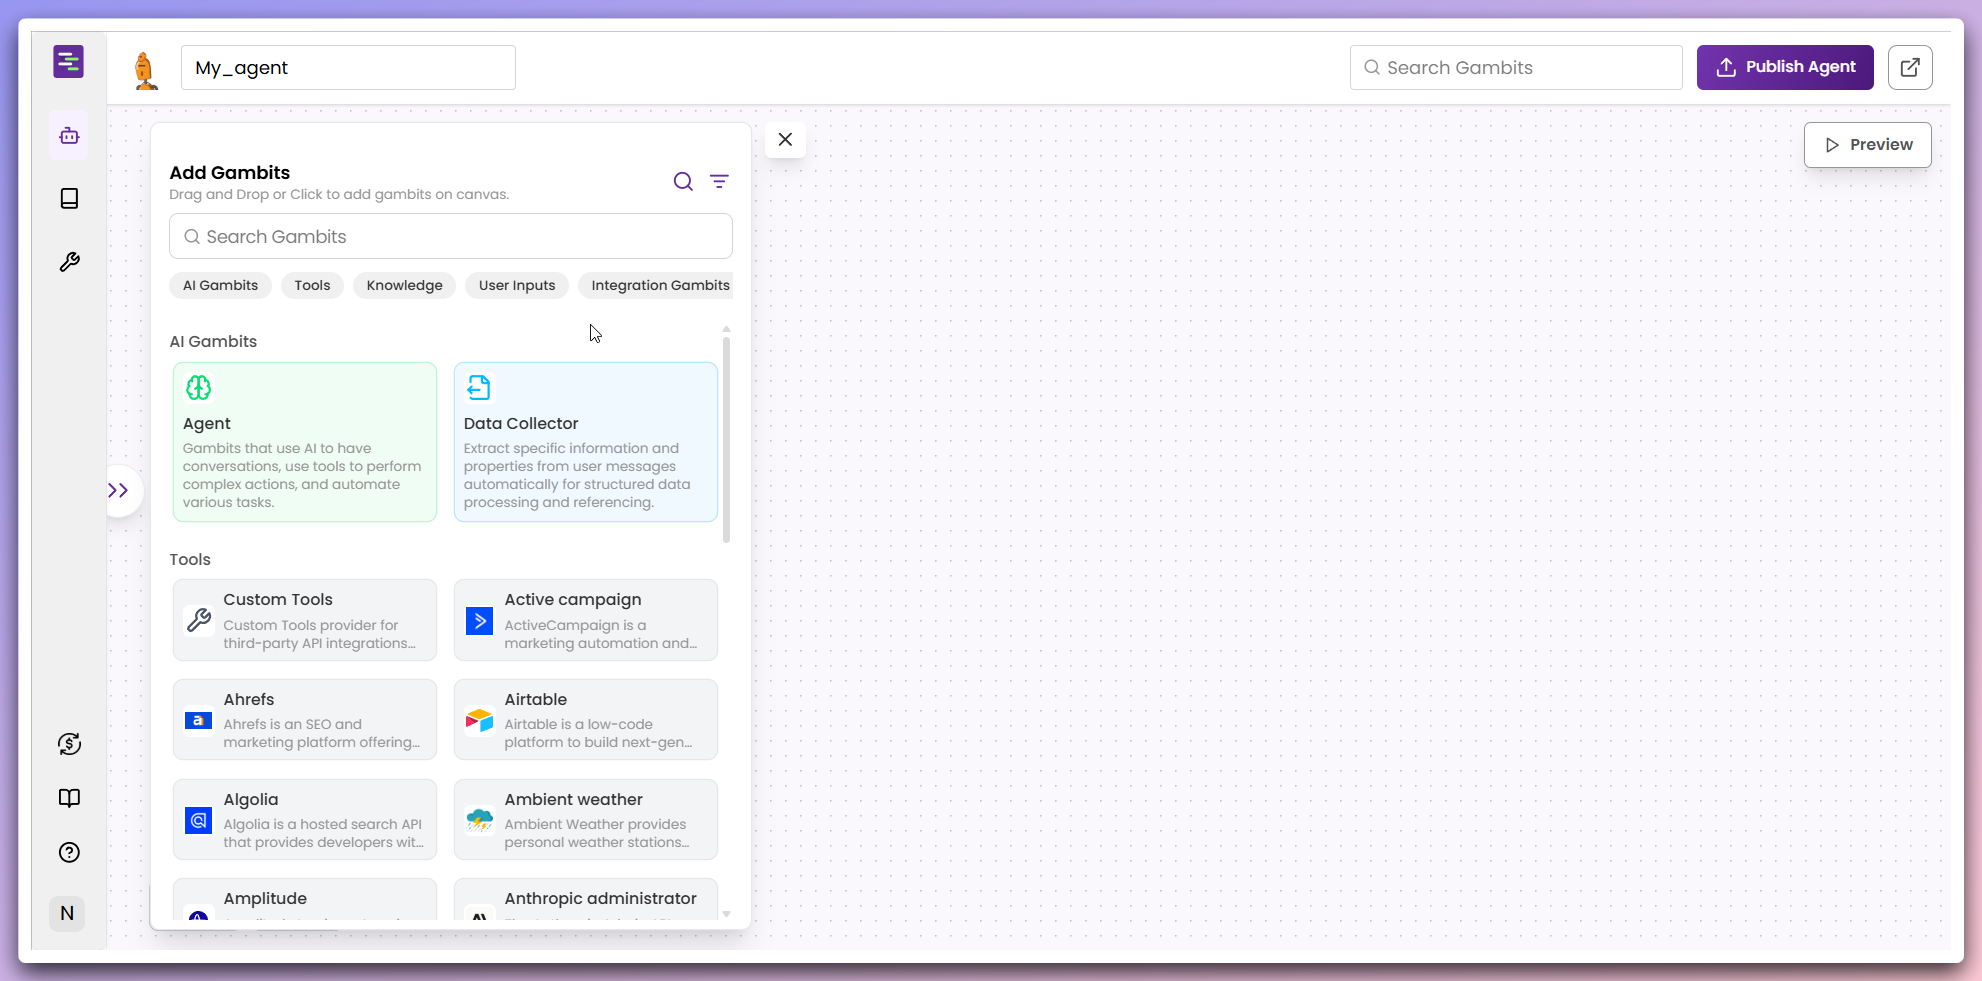


Agent gambit.Agent gambit: Core conversation logic and AI behaviorIntegration gambit: Connect external services and APIsTool gambit: Add specific functionality and actionsKnowledge gambit: Connect to knowledge bases and information retrievalUser input gambit: Handle user interactions and data collection
- Click the
Agent gambitto add it to the canvas - Drag the
Agent gambitfrom the panel to your desired location on the canvas
The Agent gambit is now added to your workflow canvas and ready for configuration.
Configure the Agent gambit
Click on the Agent gambit in your canvas to open the configuration modal.
 Configuration options include:
- Welcome Message: Define how your Agent greets users.
- Prompt: Set the core instructions and personality for your Agent.
- LLM Model: Choose the language model that powers your Agent.
-
Advanced Settings: Configure chat history, temperature, markdown support, and more.
Advanced Configuration: For more information about Agent gambit configuration visit here.Quick Start: You can use the default settings to get started quickly and customize your Agent later as needed.
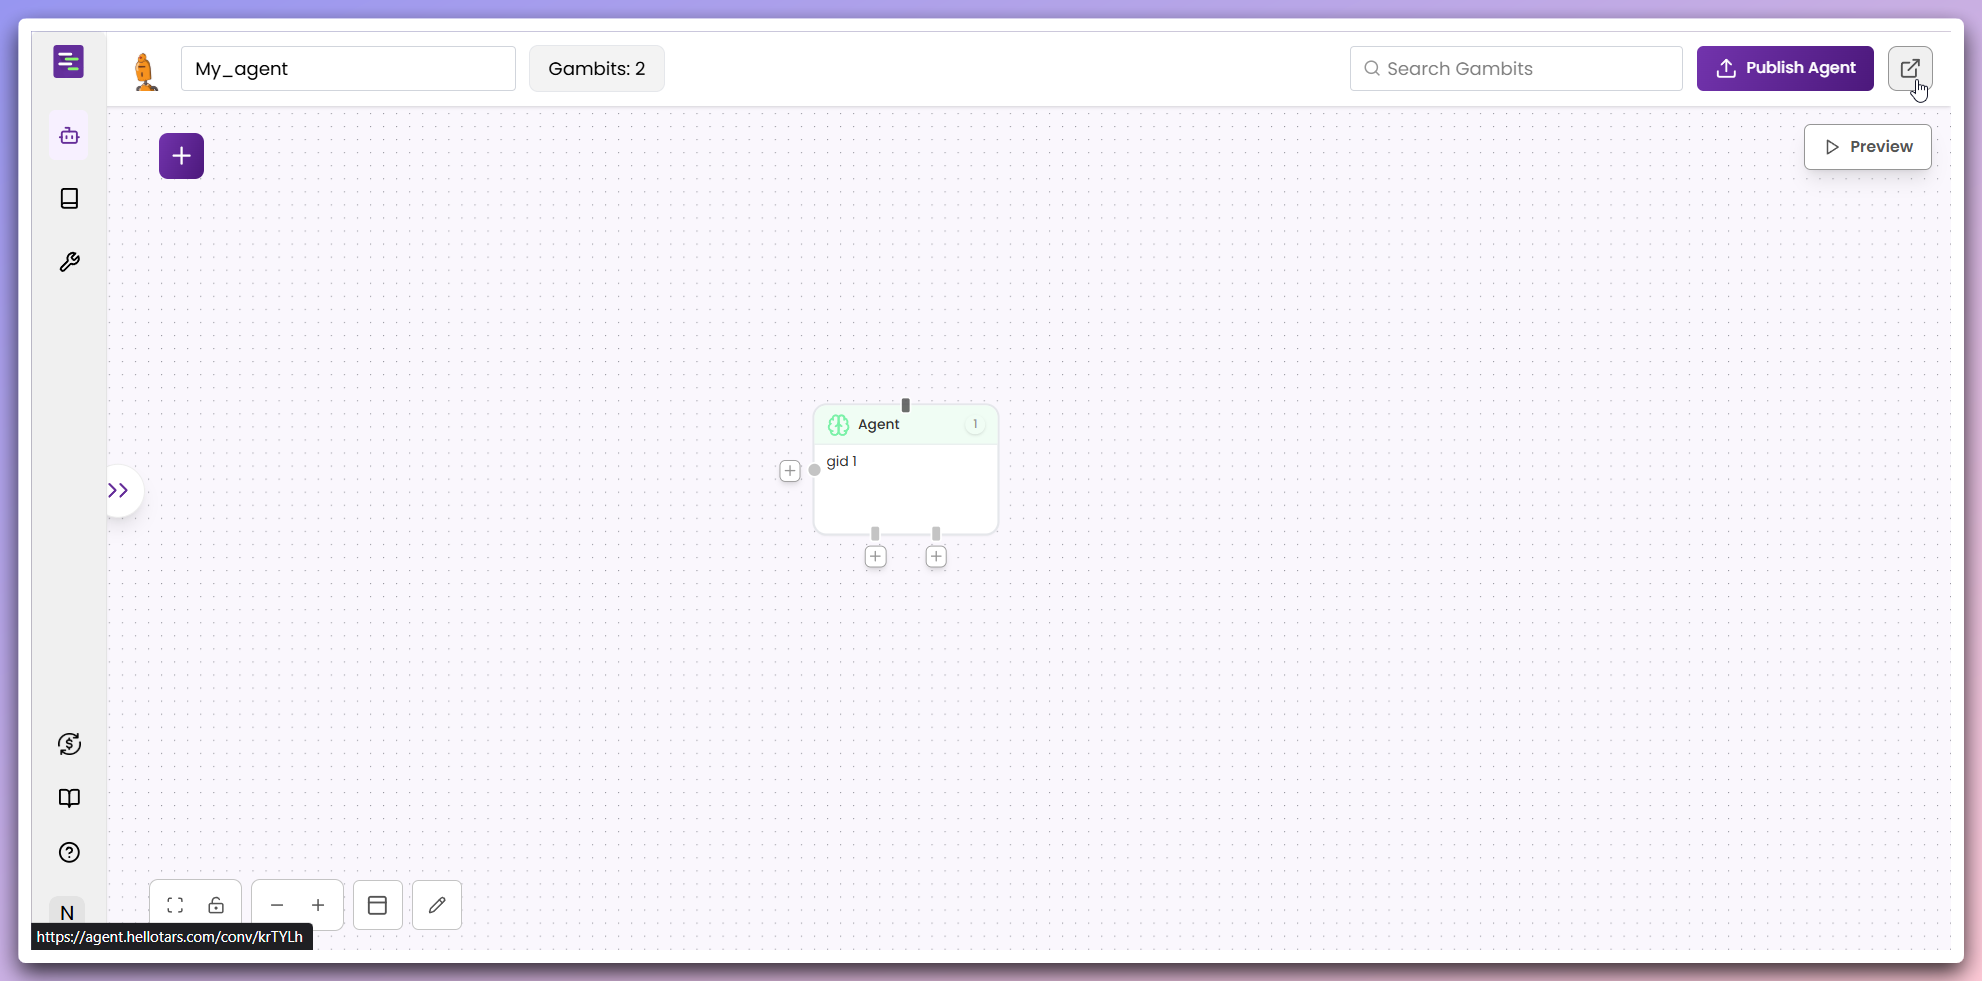
Publish your Agent
Once you’ve configured your Agent, click the 
Publish button in the top-right
corner of the builder canvas.Publishing makes your Agent live and ready for user interactions.
Next steps
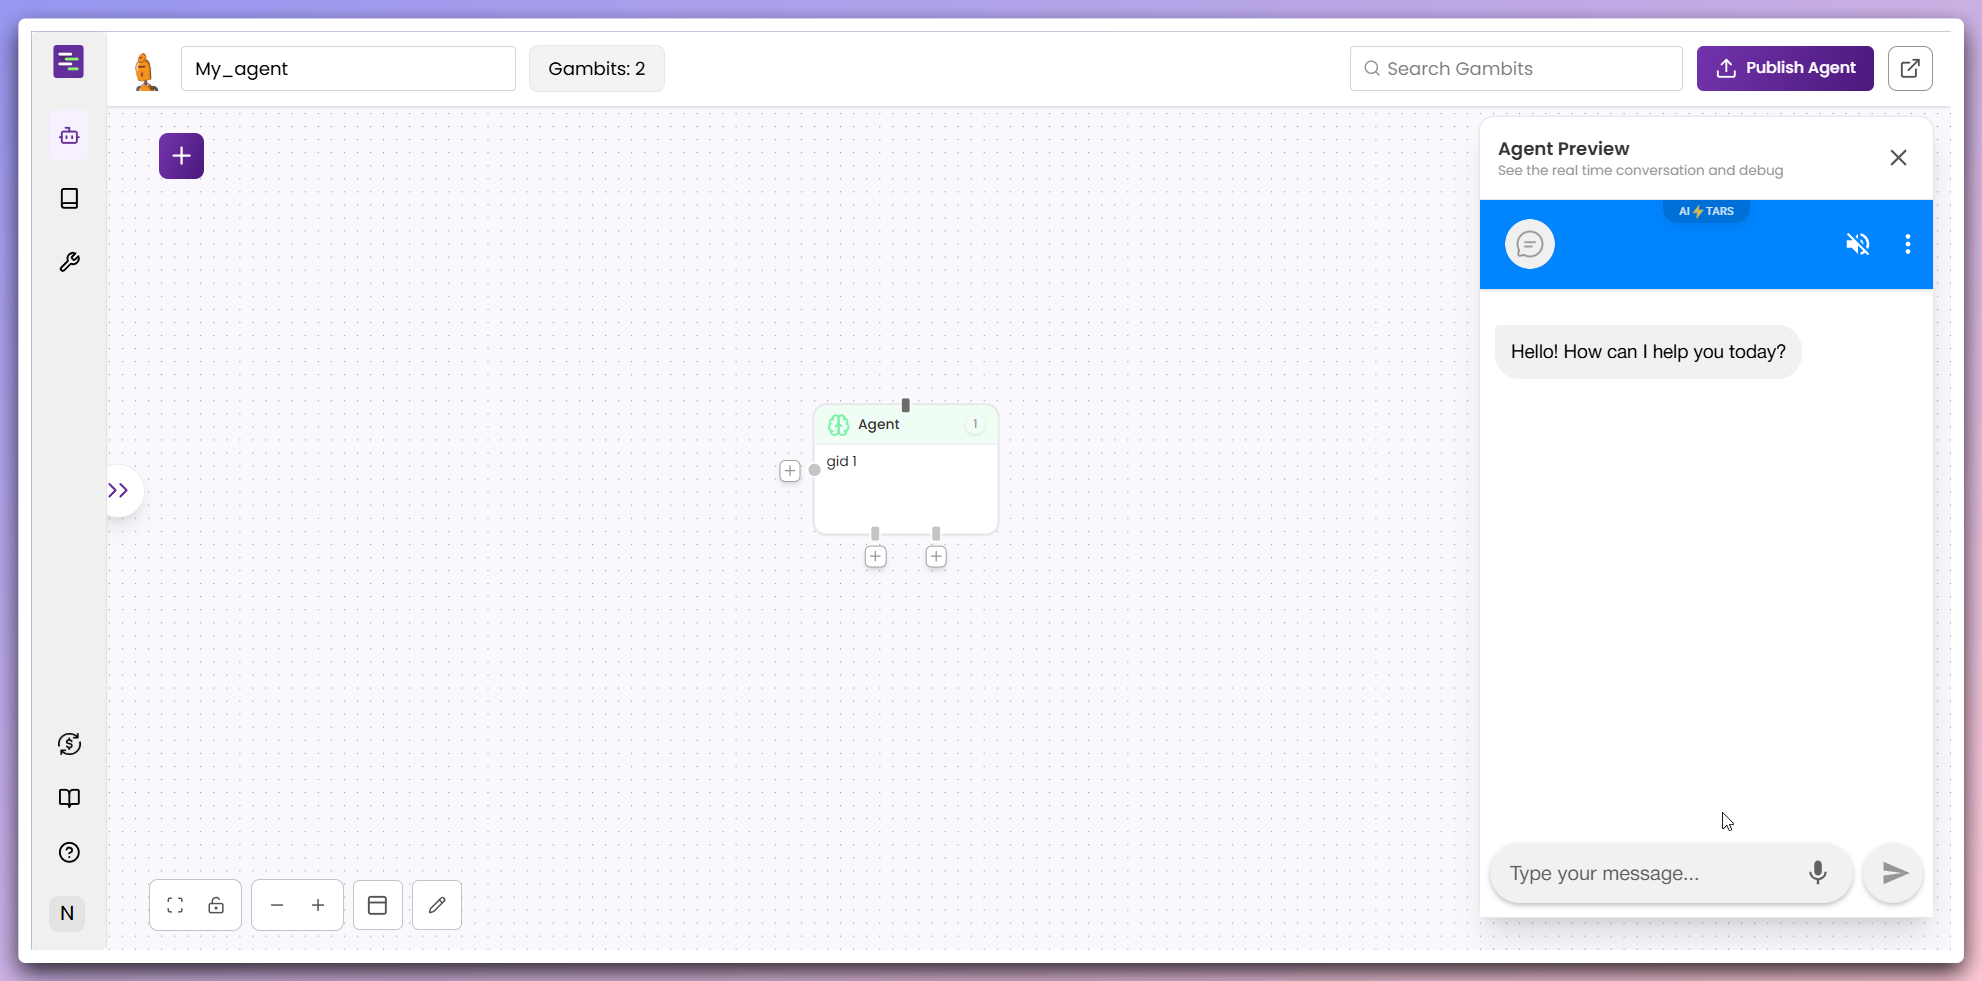
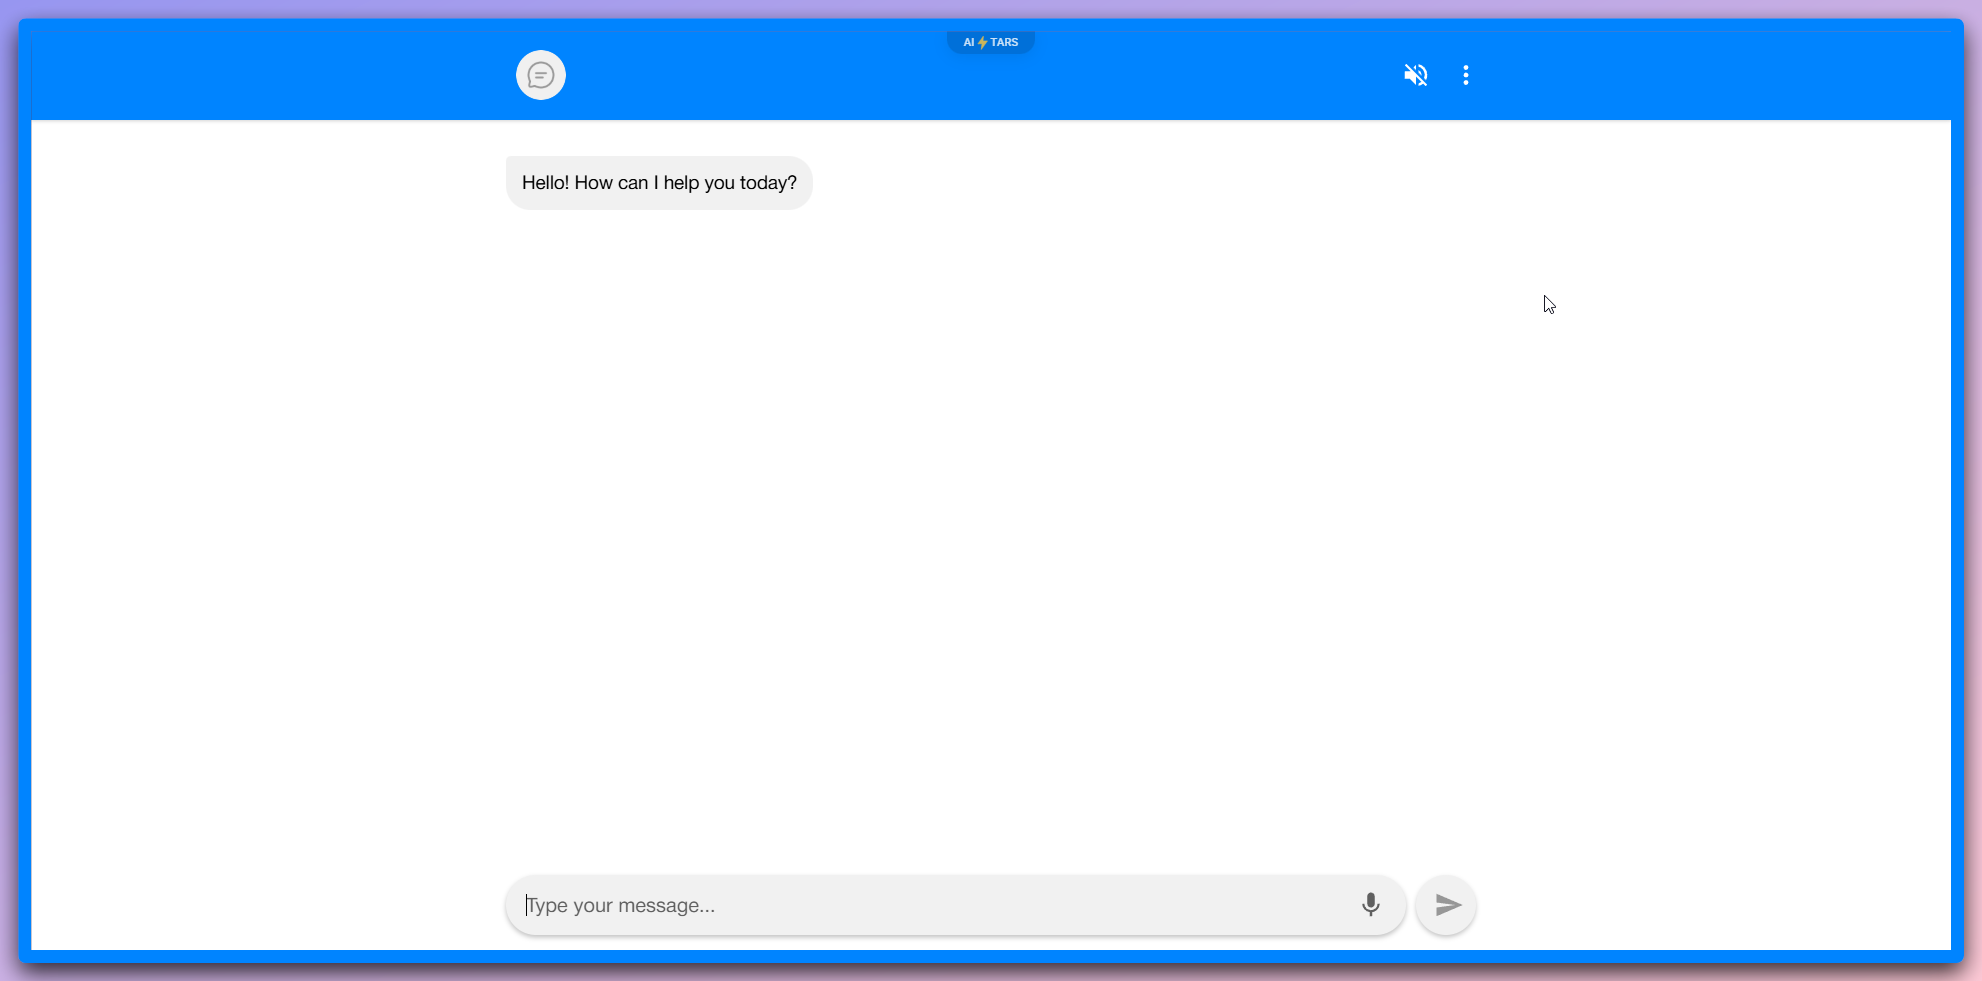
After creating your Agent from scratch:- Test thoroughly: Use both preview and launch options to test different conversation scenarios
- Refine configuration: Adjust the Agent gambit settings based on your testing results
- Add more gambits: Expand your workflow with additional gambits for complex interactions
- Monitor performance: Track user interactions and optimize based on real usage patterns