What you get
Tool-powered automation- Pre-configured actions: Your Agent can immediately perform actions using the selected tool
- Smart workflows: Automatically handles tool-specific processes and data flows
Perfect for
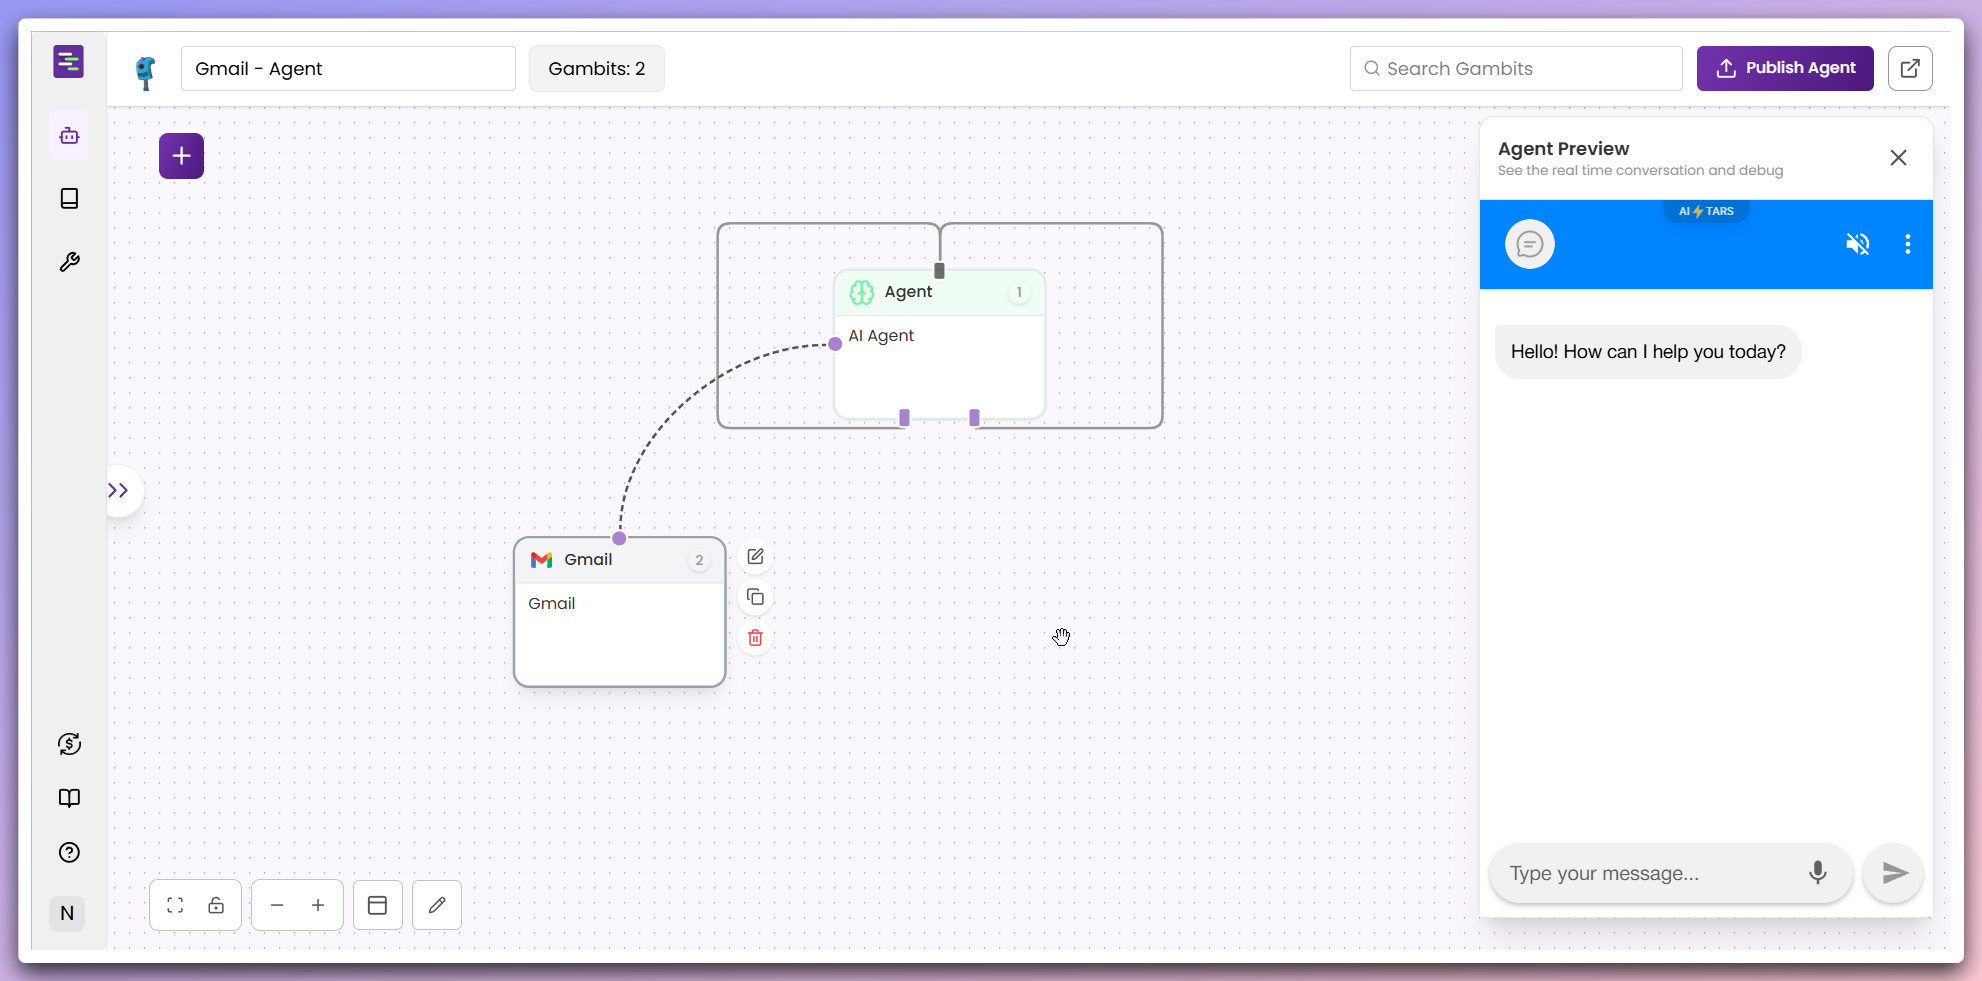
- Email management: Send emails, schedule meetings, and manage contacts using Gmail integration
- CRM operations: Create leads, update customer records, and track sales activities with HubSpot or Zoho
- Customer support: Manage tickets, respond to queries, and track customer issues through Zendesk
- Marketing automation: Create campaigns, manage subscribers, and track email performance with Mailchimp
- Google Workspace: Manage documents, spreadsheets, and calendar events using Google Drive and Calendar
- Workflow assistance: Guide users through complex tool-based processes and integrations
Step-by-step creation process
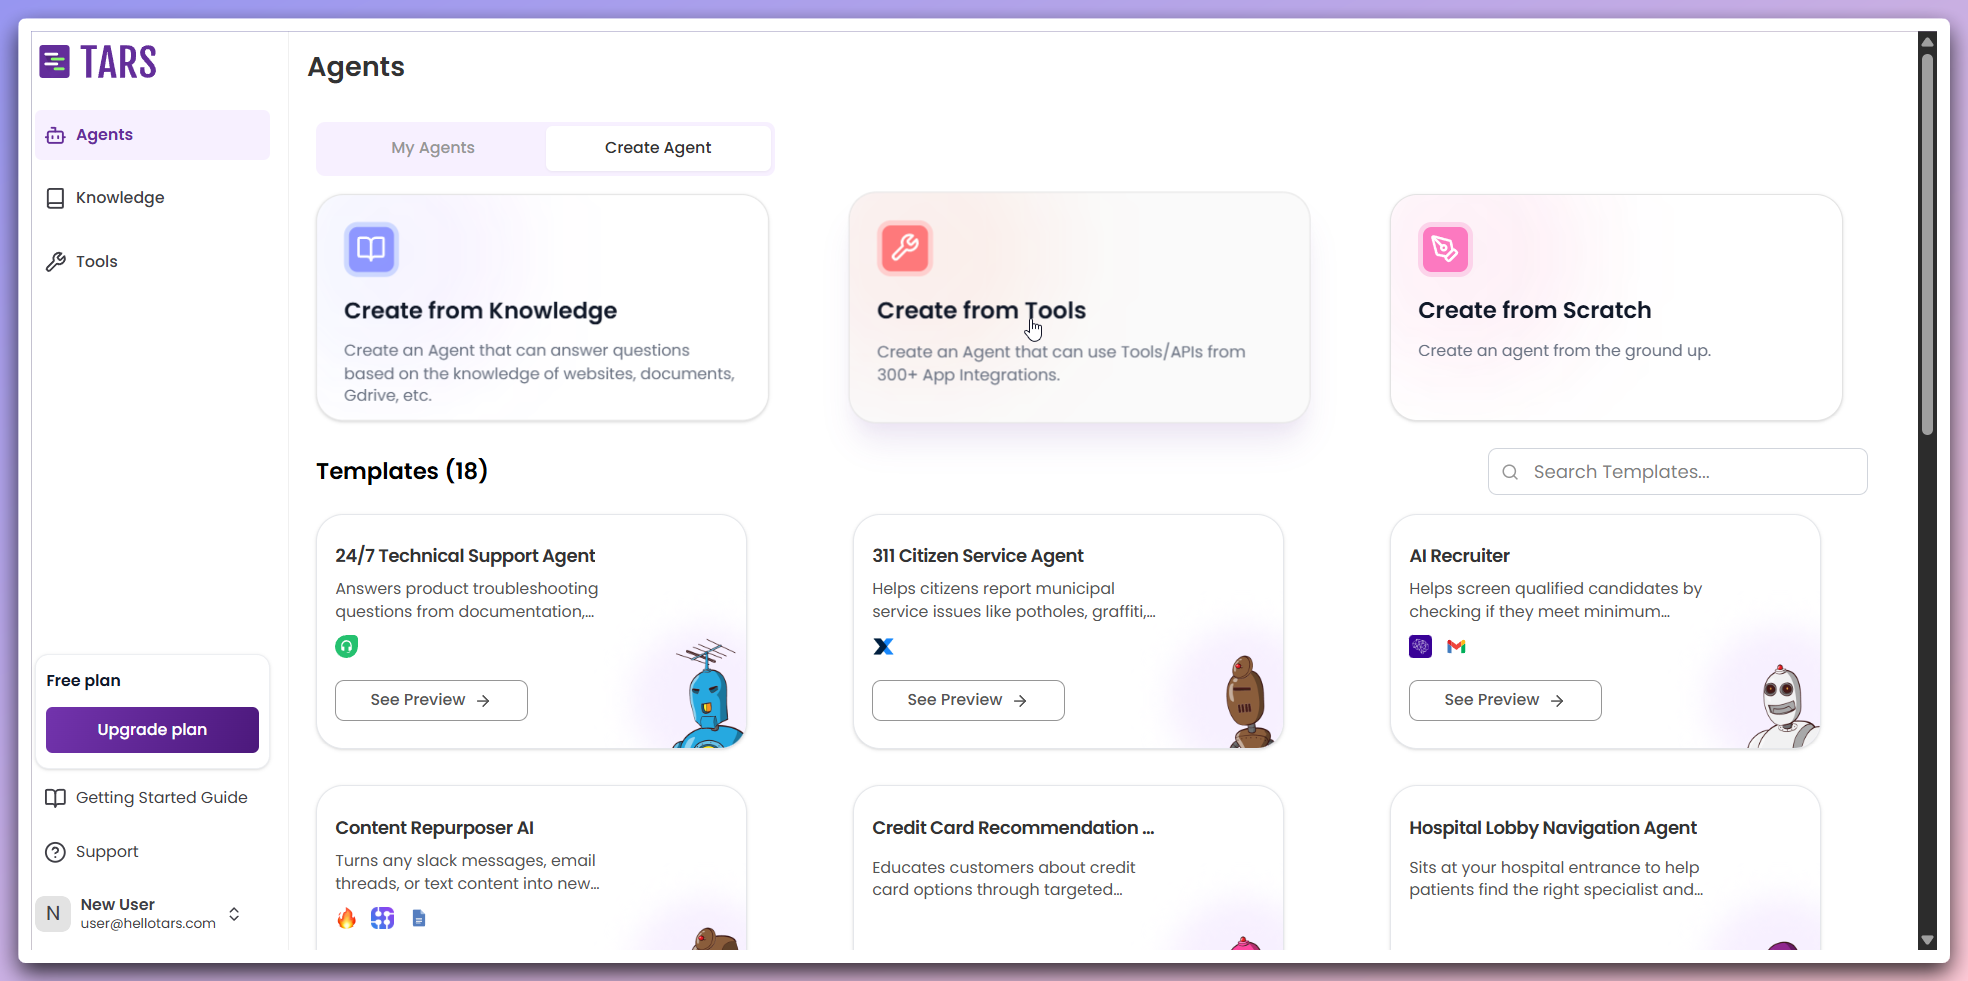
Select tool and configure Agent
A modal opens where you can select the tool you wish to use and change the
Agent’s icon.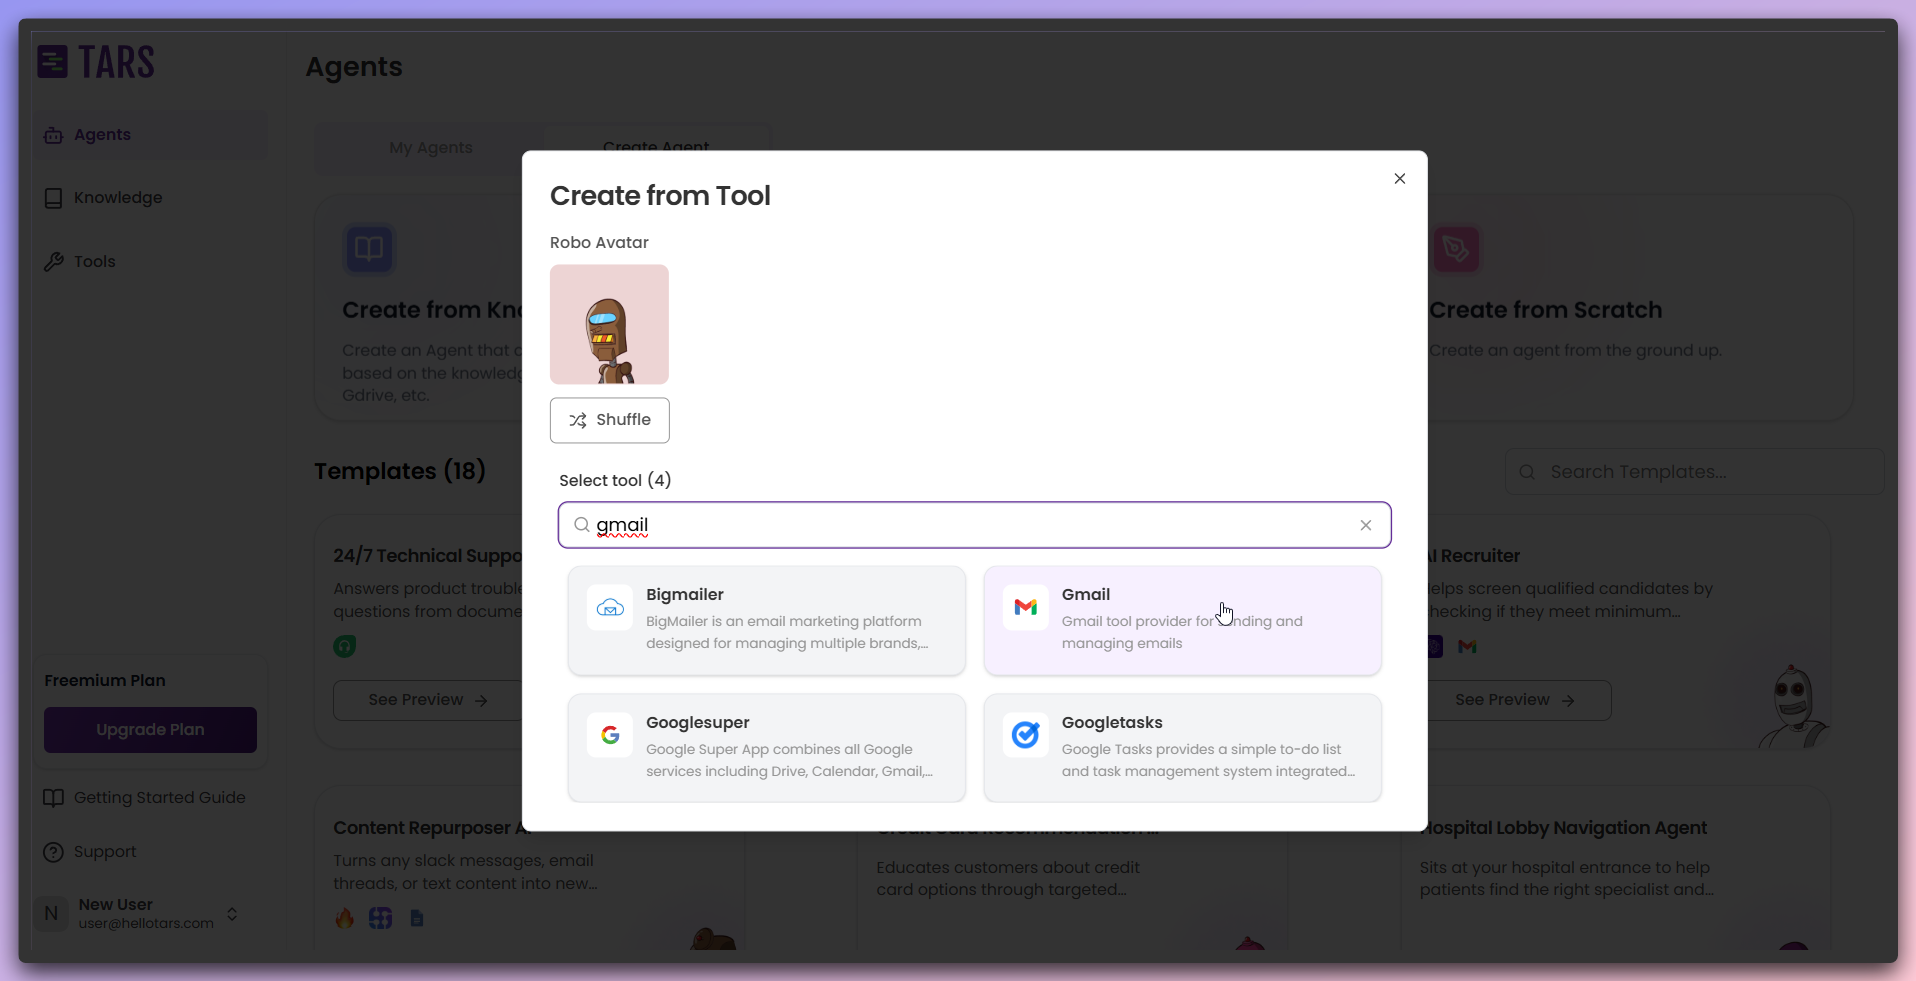
- Tool selection: Search and select from available tools and integrations.
- Agent icon: Use the shuffle button at the top to change the Agent’s icon.
Authenticate with the tool
After selecting a tool, another modal opens for tool authentication with
different authentication types.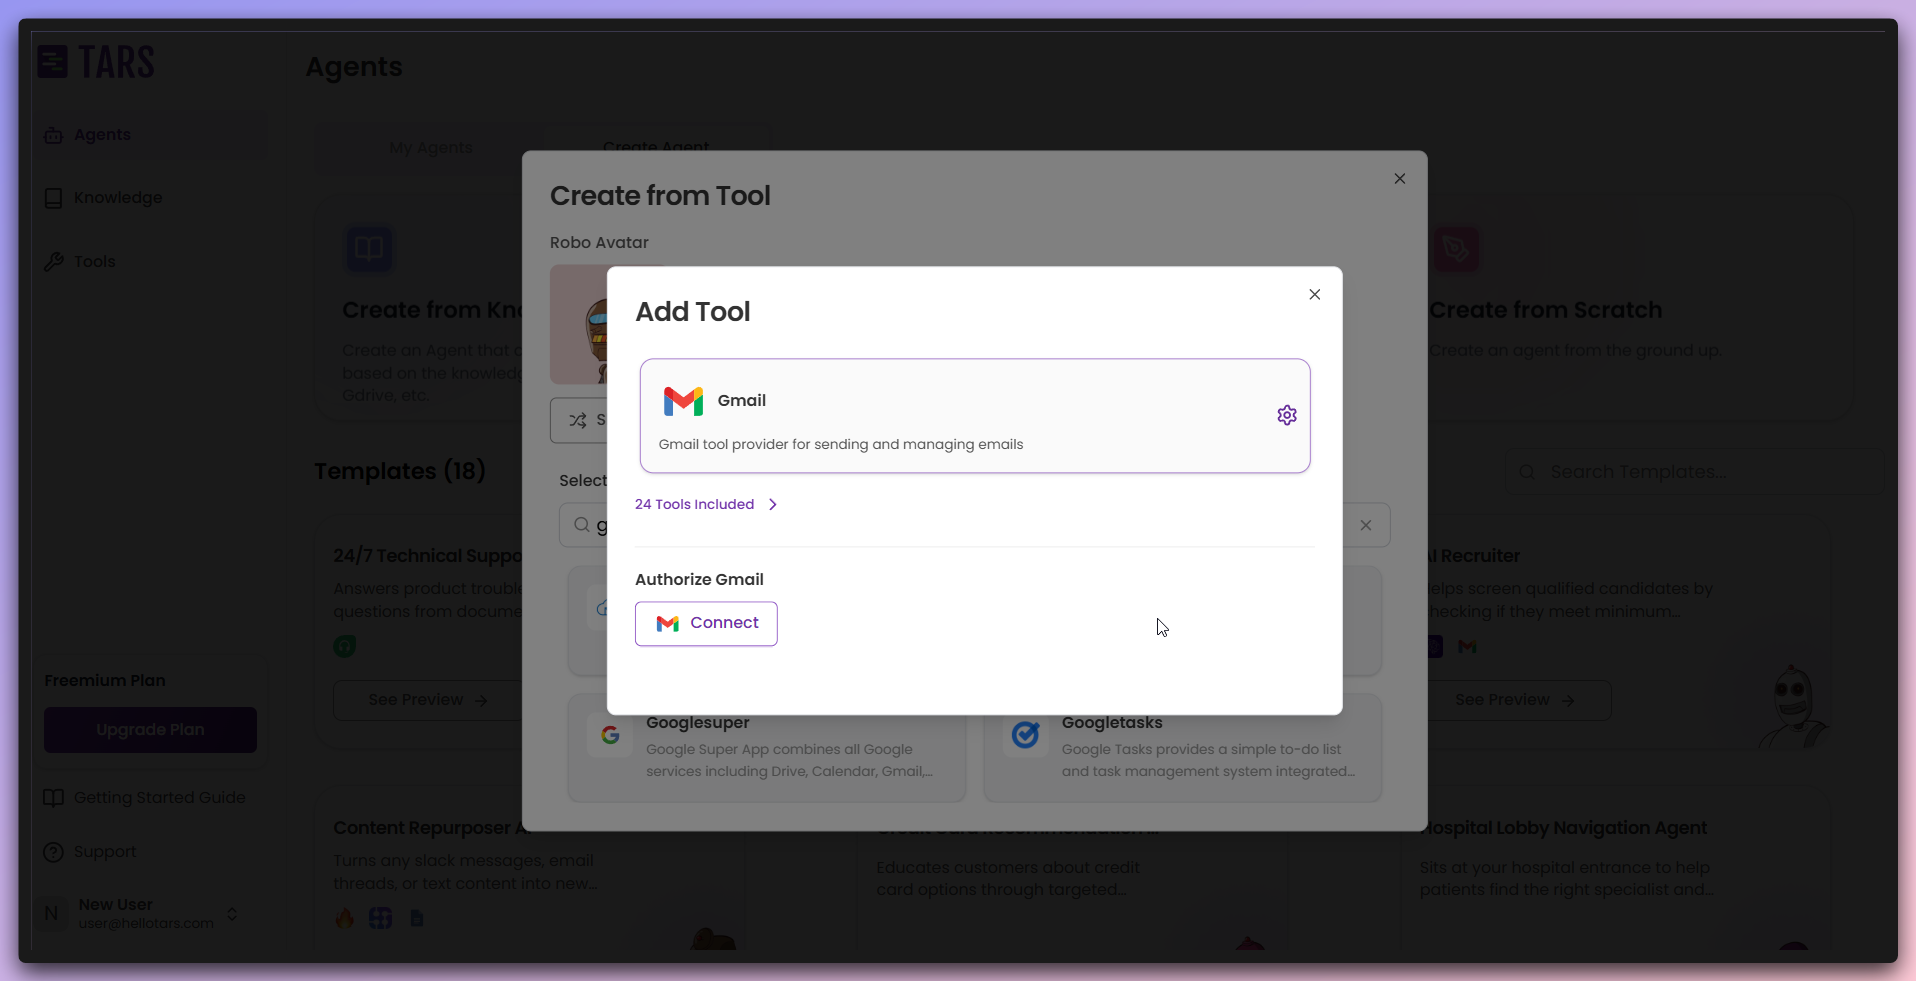
- API Key/Bearer Token/Basic Auth: Provide authentication details in input fields.
- OAuth 2: Click the OAuth button to complete the OAuth authentication process.
- OAuth with input fields: Provide required input fields and then use the OAuth button to complete the process.
Tool connected and ready
After successful authentication, you’re redirected back to the page where the
tool is connected.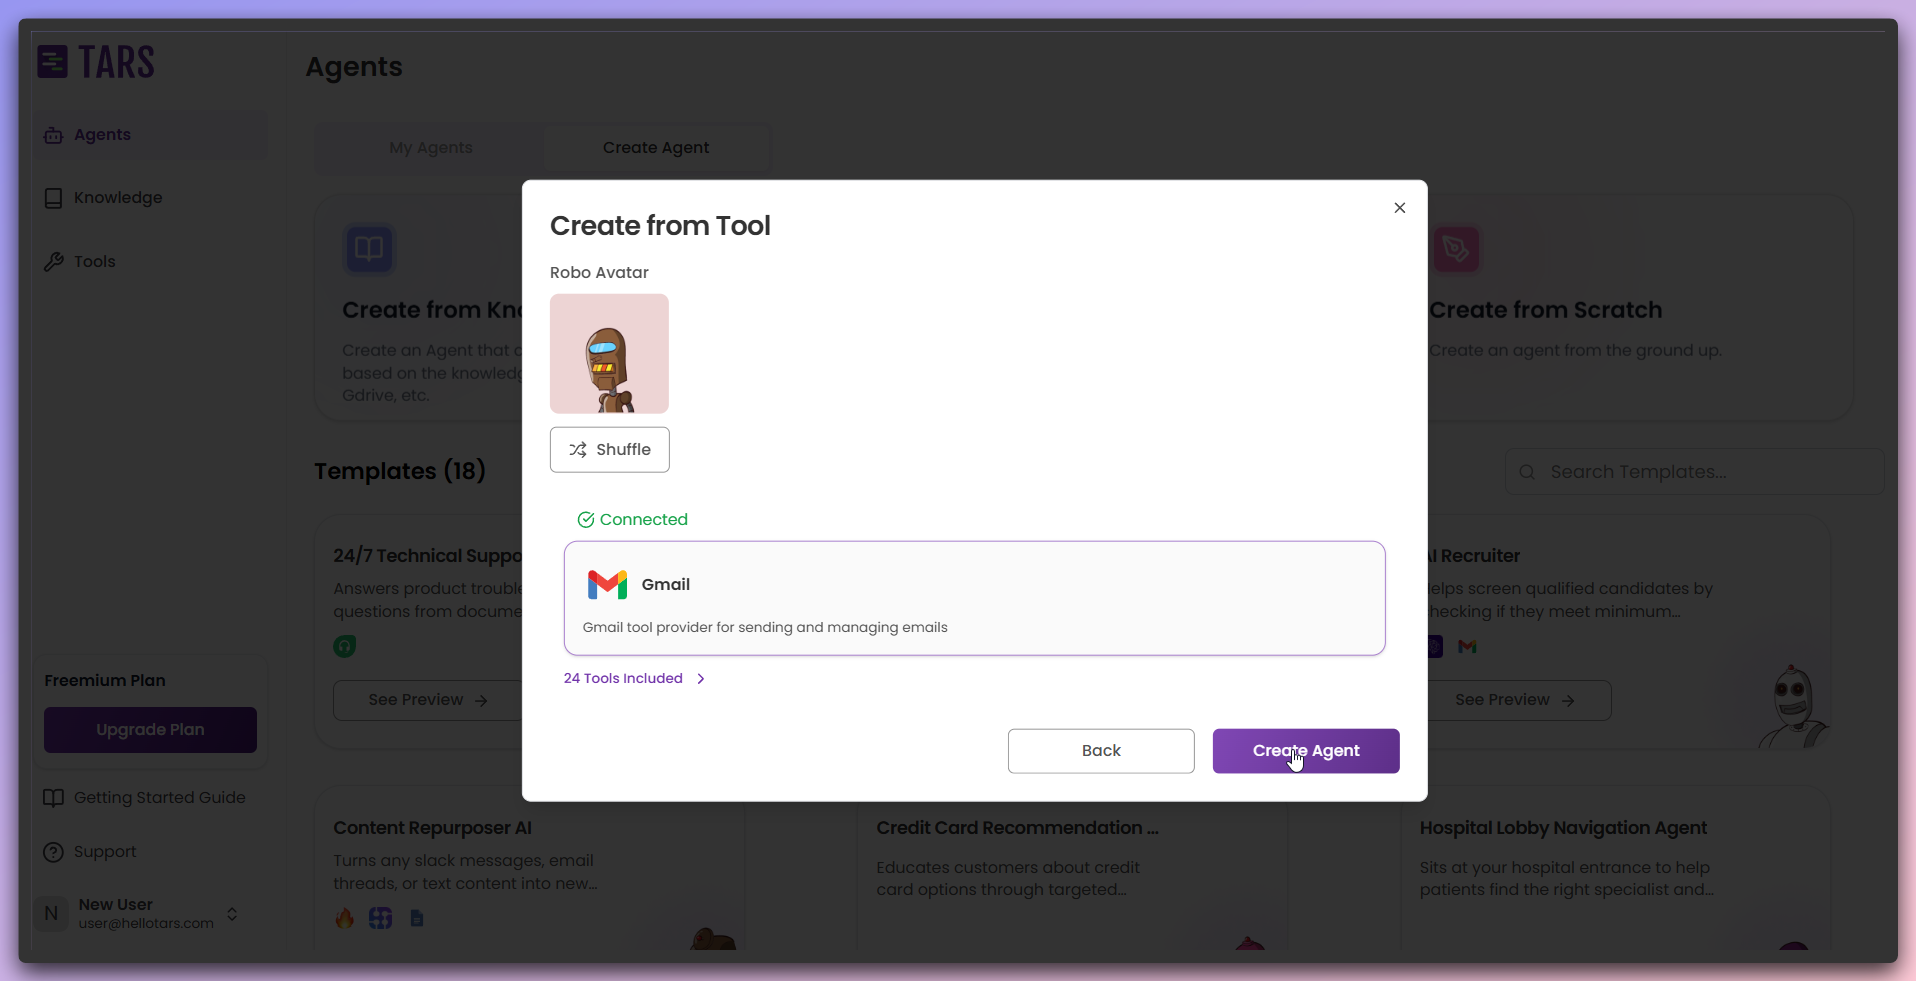
- Tool connected: The tool is successfully connected and ready.
- Create Agent button: Enabled and ready to create your tool-powered Agent.
Dependencies: Your Agent’s functionality depends on the tool being
properly configured and accessible. Ensure your tool integrations are working
correctly.