How to access LiveChat Settings
- Click on the Profile icon → Settings in the left sidebar.
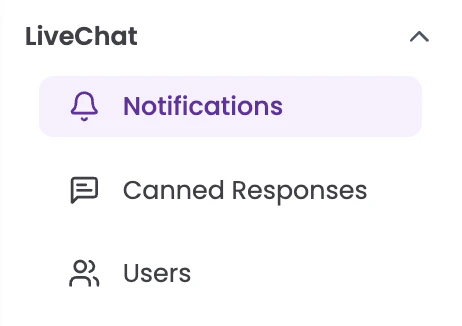
- Under the LiveChat section in the left panel, you’ll find three sub-sections: Notifications, Canned Responses, and Users.
1. Notifications
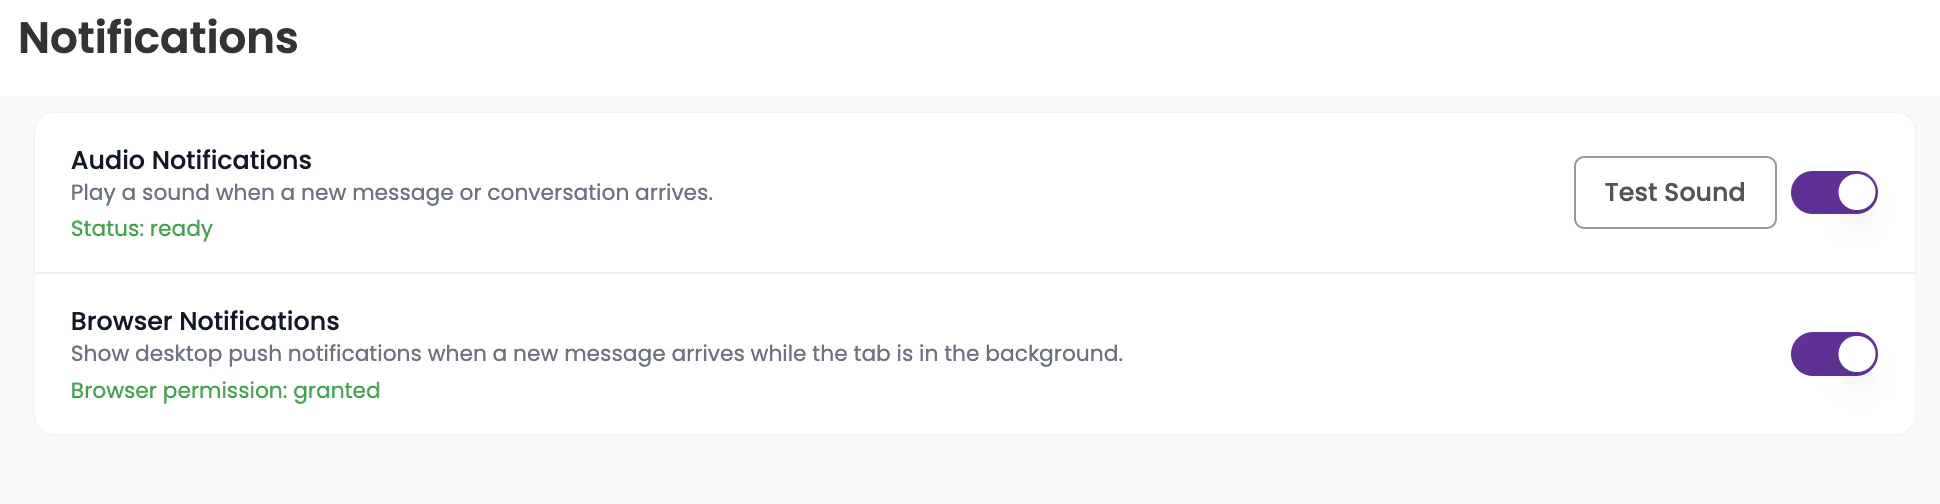
The Notifications section lets agents control how they are alerted to new incoming conversations or messages. These settings are per-agent and apply only to the currently logged-in user. Audio Notifications — Plays a sound whenever a new message or conversation arrives. You can toggle this on or off, and use the Test Sound button to confirm your audio is working. The status field will show whether audio has been verified in your browser.If the status shows “not yet verified”, click Test Sound. Your browser may need permission to play audio.
If not granted, check your browser’s site settings and ensure Tars has notification access.
2. Canned Responses
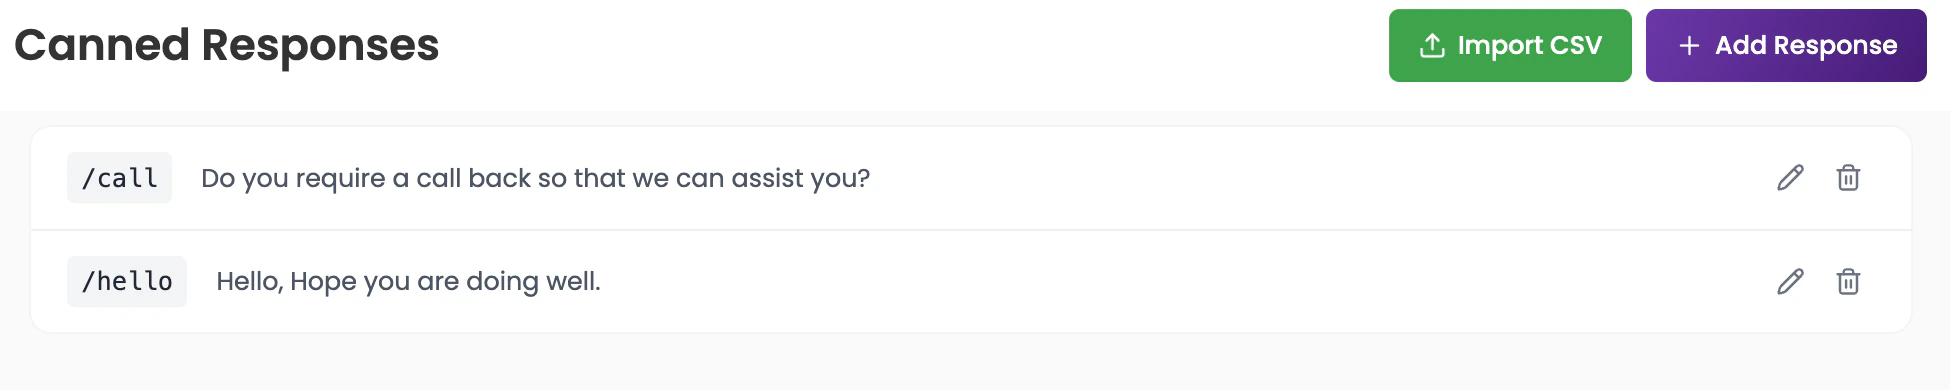
Canned Responses are pre-written message templates that agents can quickly insert during a live chat using a shortcut keyword — helping maintain consistency and speeding up response time.Viewing responses
All canned responses are listed with their shortcut keyword and full message text. For example:/call→ Do you require a call back so that we can assist you?/hello→ Hello, Hope you are doing well.
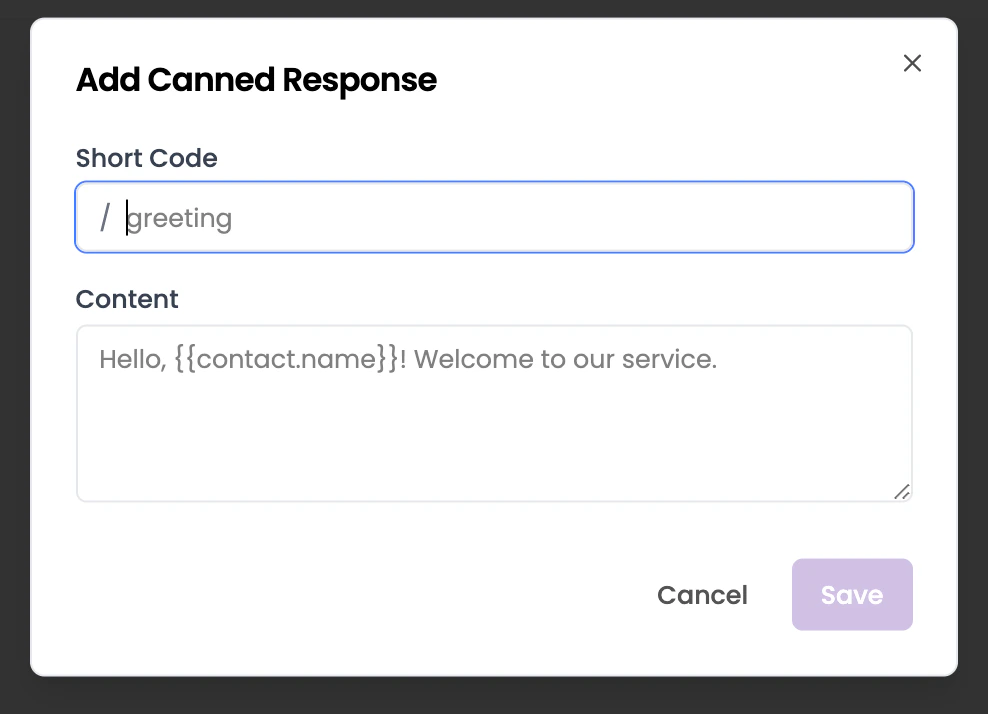
Adding a new response
- Click + Add Response in the top-right corner.
- Enter a shortcut keyword (must start with
/). - Enter the full message text and save.
Editing or deleting
Use the pencil icon to edit or the trash icon to delete any existing response.Importing responses in bulk via CSV
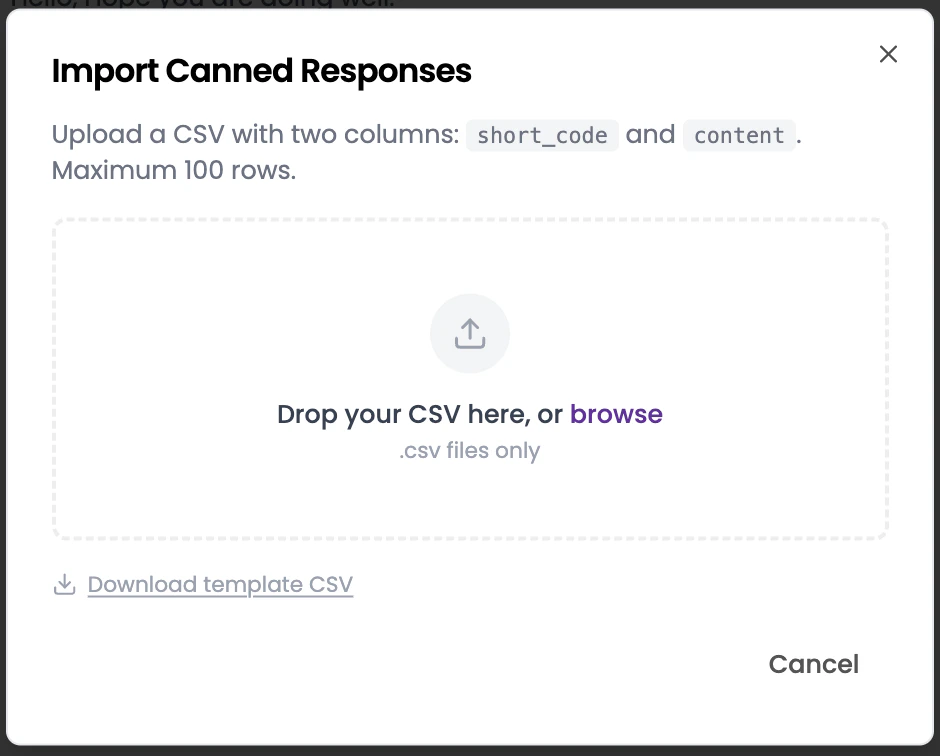
If you have multiple canned responses to add at once, you can import them using a CSV file instead of adding them one by one.- Click Import CSV in the top-right corner.
- In the modal that appears, upload a CSV file with exactly two columns:
short_codeandcontent. Maximum 100 rows. - Drop your file into the upload area or click browse to select it. (.csv files only)
- Once uploaded, the responses will be imported automatically.
Not sure about the format? Click Download template CSV in the import modal to get a pre-formatted file you can fill in and upload.
Using in chat
While in a live chat, type/ followed by your shortcut. The matching response will appear as a suggestion — press Enter or click to insert it.
3. Users
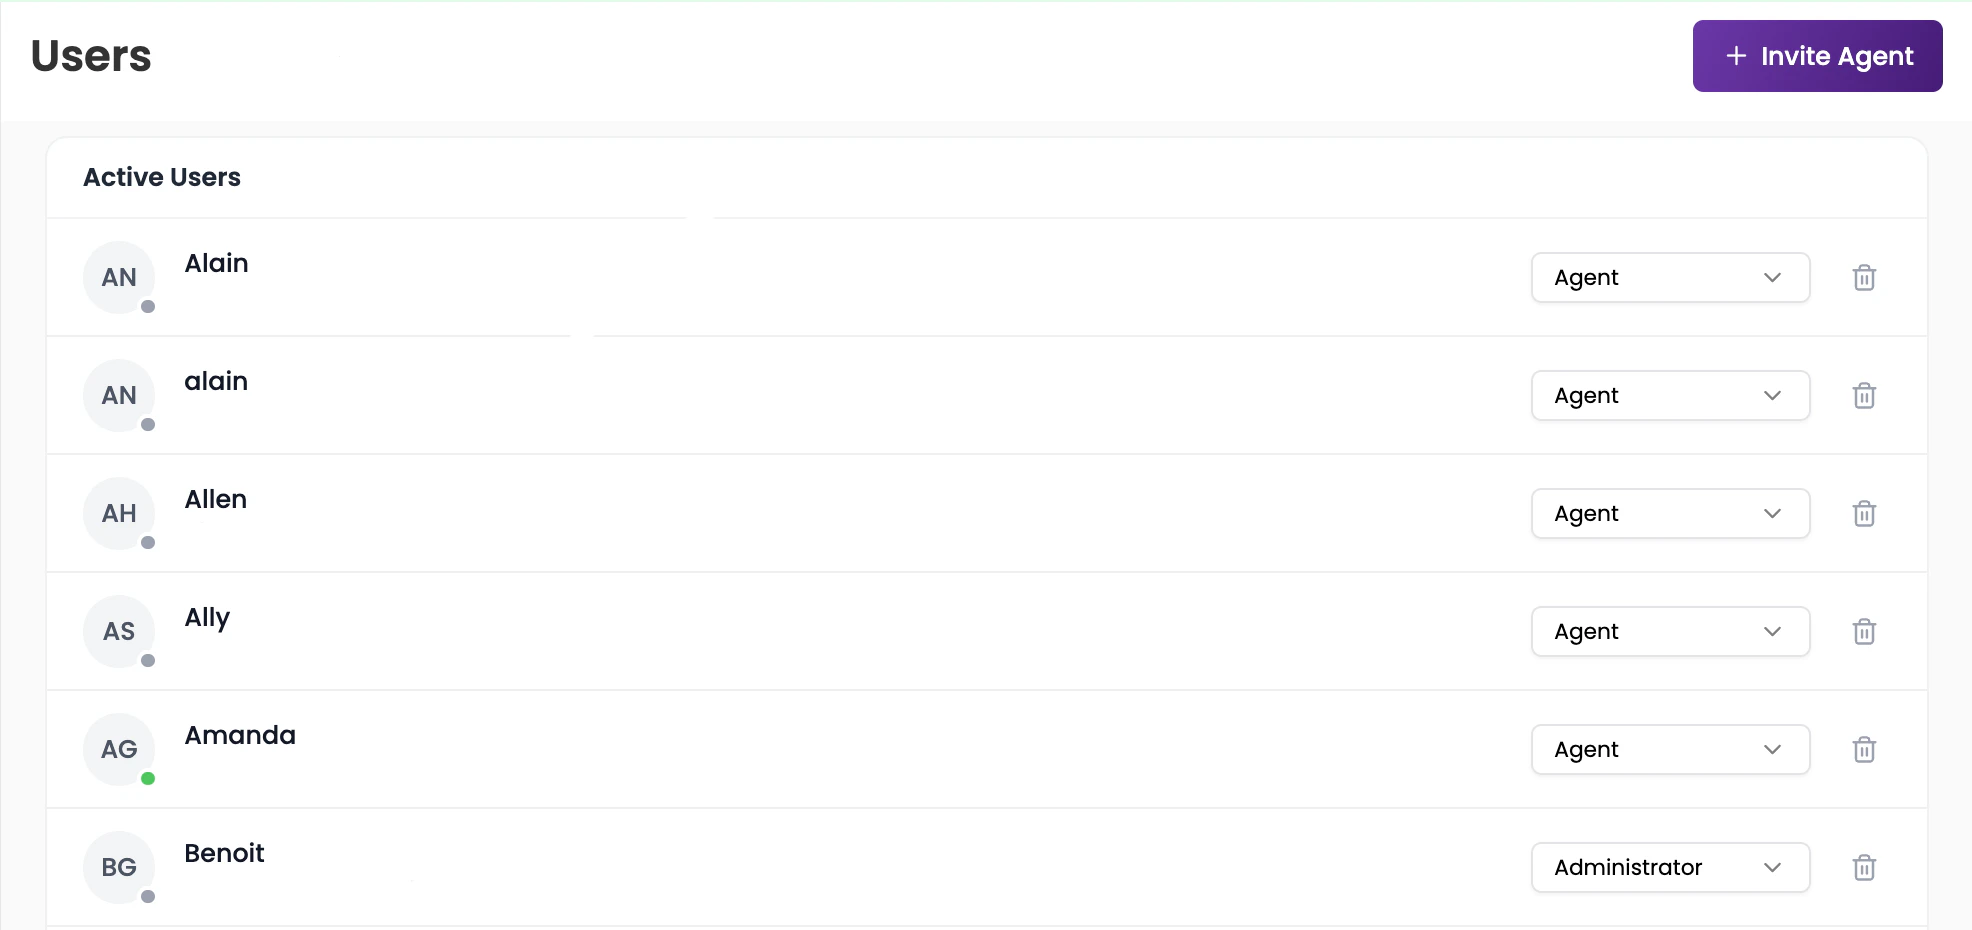
The Users section lets administrators manage agent accounts for LiveChat.Active users
Displays all agents who currently have access to LiveChat. For each user you can see:- Their name, email, and avatar initials
- Their online status (green dot = online, grey dot = offline)
- Their assigned role (Agent or Administrator)
Inviting a new agent
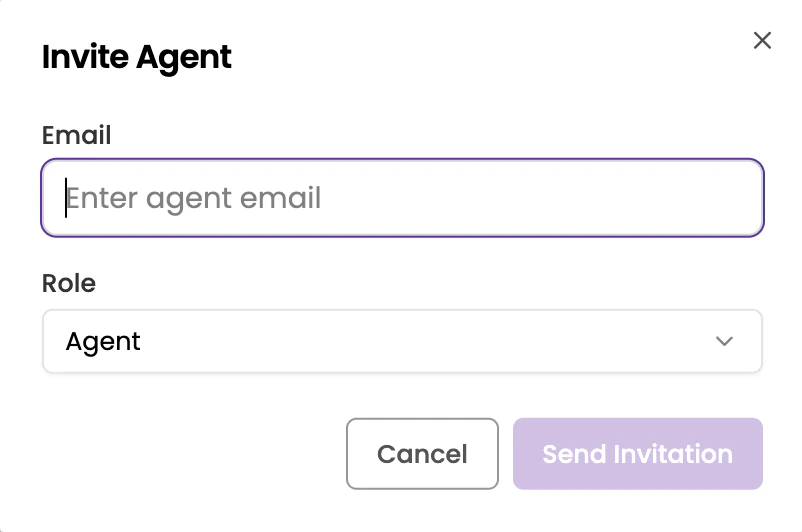
- Click + Invite Agent in the top-right corner.
- Enter the agent’s email address.
- Select a role — Agent or Administrator.
- Click Send Invitation.
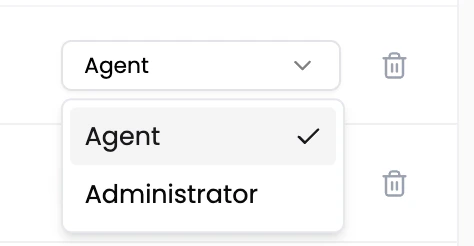
Managing roles
Admins can change any agent’s role directly from the Active Users list using the role dropdown next to their name. Available roles:- Agent — can handle live chat conversations
- Administrator — full access to LiveChat settings and conversations
Removing an agent
Click the trash icon next to any agent to remove them from the LiveChat workspace.Frequently asked questions
Can agents customize their own notification settings?
Can agents customize their own notification settings?
Yes. Notification settings (audio and browser) are per-agent. Each agent can toggle them independently without affecting other team members.
What happens when I remove an agent?
What happens when I remove an agent?
The agent will immediately lose access to LiveChat. Any active conversations they were handling will need to be reassigned or will remain unassigned until another agent picks them up.
Is there a limit to how many canned responses I can create?
Is there a limit to how many canned responses I can create?
There is no hard limit for manually added responses. For CSV imports, the maximum is 100 rows per upload. You can do multiple imports if you need more.